Curtains are more than just window coverings. They play a major role in shaping how a room looks, feels, and functions. A well-hung curtain can make a space feel taller, brighter, and more refined. On the other hand, poorly installed curtains can disrupt balance, block natural light, and make even well-designed rooms feel unfinished.
The challenge is that curtain installation often looks simple, but small mistakes in height, width, or placement can completely change the final outcome. That is why understanding the correct method is essential before you start drilling holes or buying rods.
Why Curtain Installation Matters More Than You Think
Curtains influence multiple aspects of interior design at the same time. They affect lighting, privacy, temperature control, and visual proportions of a room. Because of this, their placement becomes just as important as their design or fabric choice.
When installed correctly, window curtains can make ceilings appear higher and windows wider. They also help soften harsh architectural lines and bring warmth into a space. In contrast, incorrect installation can make windows look smaller, ceilings appear lower, and rooms feel visually compressed.
This is why professionals always focus on placement and proportion before even selecting fabric.
Steps Involved in Hanging the Curtains
We we have provide a step wise guide to help you hang any kind of curtains flawlessly.
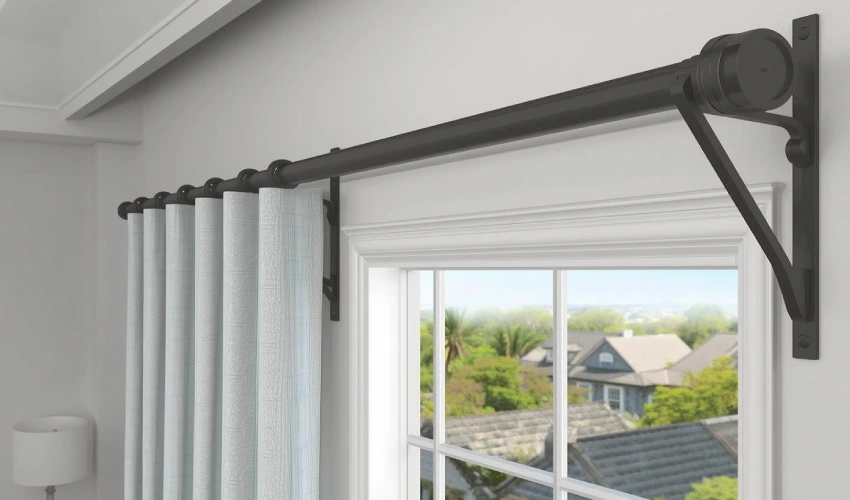
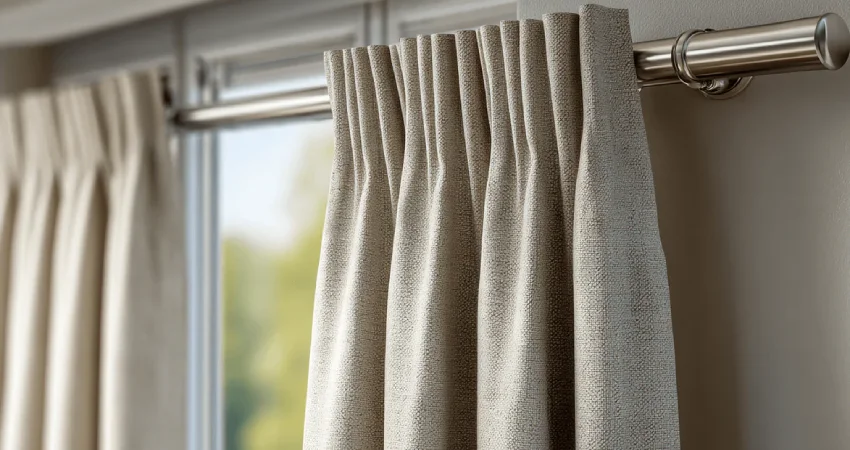
Step 1: Decide the Mounting Position Carefully
The first decision you need to make is whether the curtain rod will be installed inside the window frame or outside it.
Inside mounting is used when you want a clean, minimal look. It keeps the curtain aligned within the frame and highlights the window structure itself. This method works well in modern and compact interiors where simplicity is preferred.
Outside mounting, on the other hand, is more common. It involves placing the rod above and beyond the window frame. This approach creates a more dramatic effect, makes windows appear larger, and allows better light control when curtains are closed.
Many designers prefer outside mounting because it offers more flexibility in styling and coverage.
Step 2: Choose the Correct Curtain Length and Height
Curtain height is one of the most important design decisions.
A common interior trick is to install the rod higher than the window frame. This instantly makes the room look taller and more spacious. Even a small increase in height placement can significantly improve visual proportions.
For curtain length, there are generally three styles. Some curtains stop just above the floor for a clean and practical look. Others lightly touch the floor for a more elegant finish. A third option allows the fabric to pool slightly on the floor, creating a luxurious but high-maintenance appearance.
The right choice depends on the room’s function. For high-traffic areas, floor-touching or slightly raised curtains are more practical. For formal spaces, pooling curtains can add a decorative touch.
Step 3: Mark, Measure, and Install Brackets Properly
Accurate measurement is the foundation of a good curtain setup.
Before drilling anything, take time to mark the exact position of your brackets. Use a measuring tape and level tool to ensure both sides are perfectly aligned. Even a small tilt can make curtains look uneven once installed.
If possible, locate wall studs for better support. If studs are not available, use proper wall anchors to ensure the rod can handle the weight of the curtains.
This step is often rushed, but it is the most important part of the entire process. A strong and balanced bracket installation determines how stable and long-lasting your curtain setup will be.
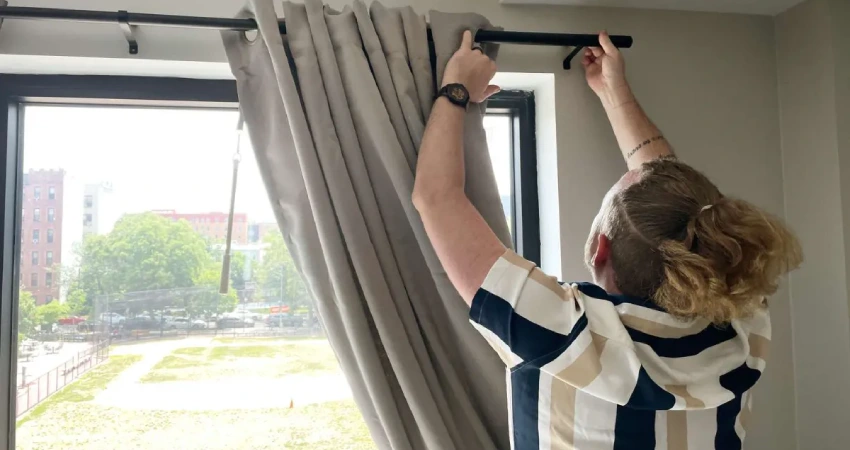
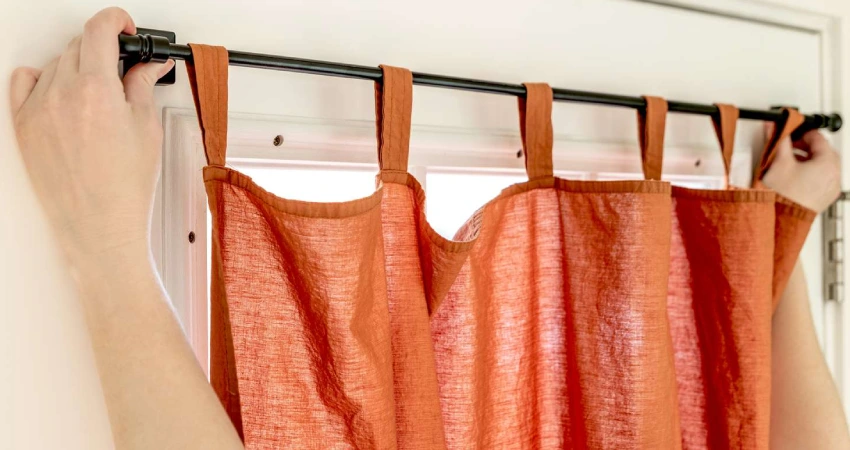
Step 4: Hang Curtains and Adjust the Final Look
Once the rod and brackets are in place, you can attach the curtains.
This step may seem simple, but it requires attention to detail. The fabric must be evenly distributed across the rod to avoid uneven folds or sagging on one side.
Depending on the curtain type, you may use rings, hooks, or eyelets. After hanging, step back and check how the curtains fall naturally. Small adjustments in spacing can significantly improve the final appearance. At this stage, the goal is symmetry, smooth folds, and proper alignment.
7 Smart Ways to Hang Curtains Better (Professional Design Tips)
Once you understand the basic steps, these advanced methods can significantly improve the final outcome. These are commonly used in modern interior design to enhance both function and aesthetics.
1. Mount Curtains Higher Than the Window Frame

One of the most effective design techniques is placing the rod closer to the ceiling rather than just above the window. This creates the illusion of height and makes even small rooms feel larger and more open. It is a simple change, but it has a strong visual impact.
2. Extend Curtain Rod Beyond Window Width
Many people install rods exactly at the window width, but extending them slightly on both sides creates a better effect.
This allows curtains to fully clear the window when open, letting in more natural light. It also makes the window look wider and more balanced when the curtains are drawn.
3. Match Fabric Weight with Rod Strength
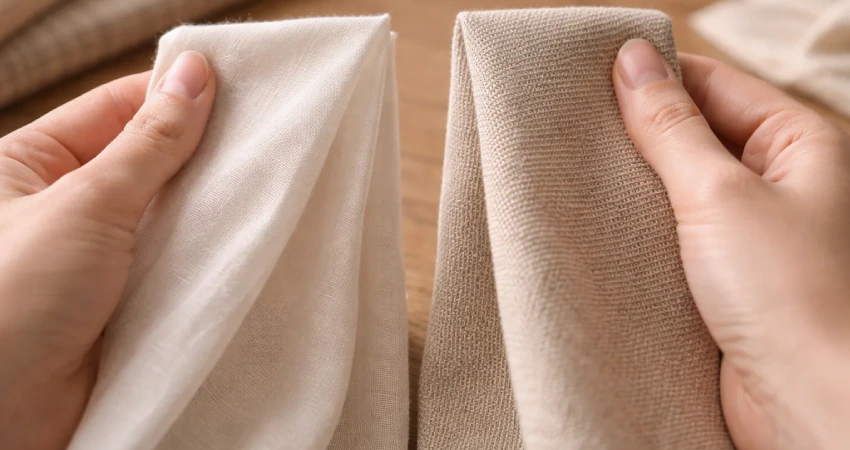
Curtains come in different weights, and not all rods can support heavy fabrics. Lightweight fabrics like sheer curtains work well with simple rods, while heavier blackout or velvet curtains require stronger hardware. Choosing the wrong combination can lead to sagging or long-term damage.
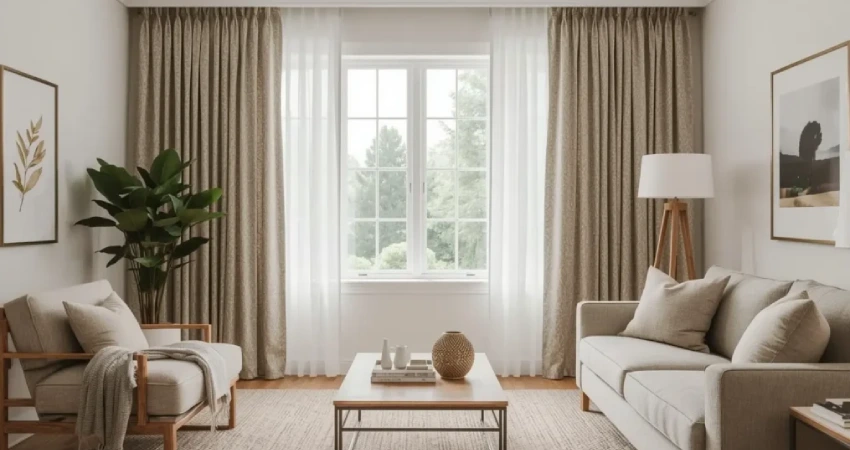
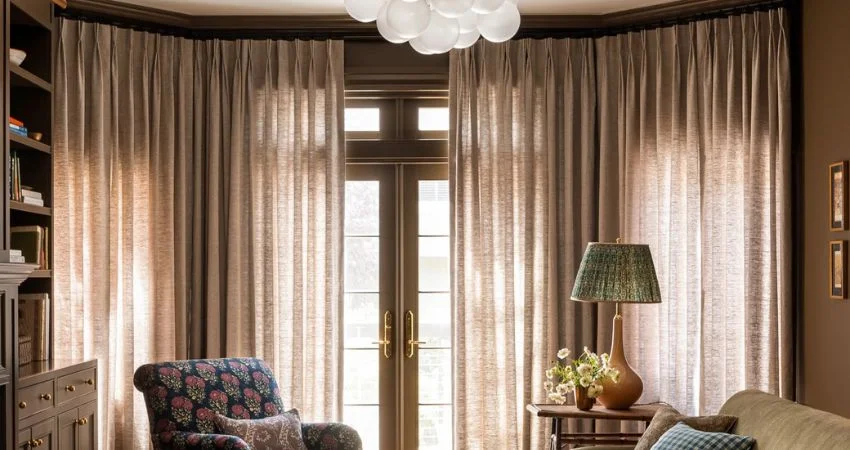
4. Use Layered Curtains for Flexibility
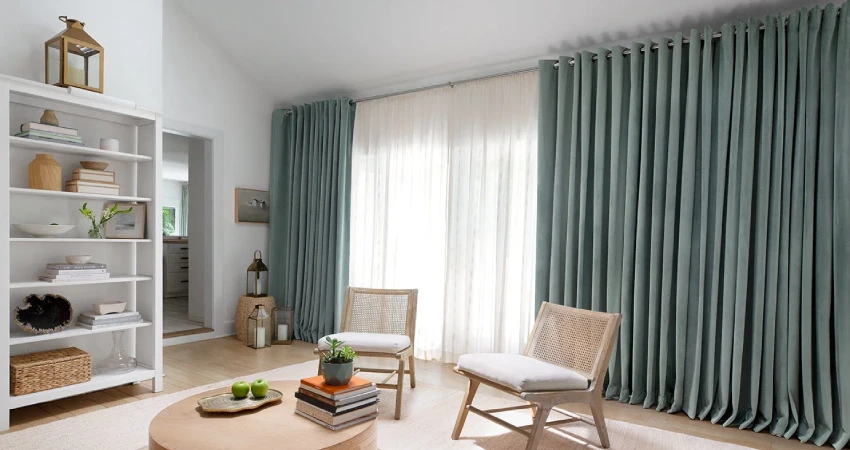
Layering curtains is becoming increasingly popular in modern interiors. This involves combining sheer curtains with heavier blackout curtains. The sheer layer allows natural light during the day, while the blackout layer provides privacy and darkness when needed. This setup is both functional and visually appealing.
5. Maintain Proper Fabric Fullness
Curtains should never look stretched or flat. A good rule is to ensure that the curtain width is at least 1.5 to 2 times the window width. This creates natural folds and gives a more luxurious appearance. Without proper fullness, even expensive curtains can look cheap.
6. Keep Floor Clearance Practical
While dramatic floor-pooling curtains can look stylish, they are not suitable for all spaces. In homes with pets, children, or high foot traffic, curtains should either lightly touch the floor or stay slightly above it. This prevents dust accumulation and reduces wear and tear.
7. Align Curtain Style With Room Purpose
Not all curtains work for every room. Bedrooms usually require blackout curtains for better sleep. Living rooms often benefit from light-filtering fabrics. Kitchens and workspaces need lightweight, easy-to-maintain options. Matching curtain style with room function ensures both comfort and practicality.
Common Mistakes People Should Avoid
Many curtain installation issues happen due to avoidable mistakes.
- One of the most common errors is placing rods too low, which makes ceilings appear shorter. Another issue is ignoring measurements and relying on estimation instead of accuracy.
- Using weak brackets for heavy curtains can also lead to long-term problems. Rushing the installation process usually results in uneven alignment or poor finishing.
- Avoiding these mistakes ensures a cleaner and more professional result.
How Curtains Improve the Overall Room Experience
Well-hung curtains do more than just cover windows. They influence mood, lighting, and even how spacious a room feels.
They soften natural light, reduce glare, and improve privacy without blocking ventilation. In colder climates, they also help with insulation. From a design perspective, they tie together furniture, walls, and décor into a unified look.
This is why interior designers treat curtains as a core design element rather than an afterthought.
Final Thoughts
Hanging curtains the right way is not about complexity—it is about precision and planning. Small decisions like rod height, fabric choice, and bracket placement can completely change the visual outcome of a room. When done correctly, curtains enhance both aesthetics and functionality at the same time.
Whether you are redesigning a single room or setting up an entire home, taking time to install curtains properly ensures a more balanced, comfortable, and visually appealing space. A well-fitted curtain setup is one of the simplest yet most effective upgrades you can make to any interior.