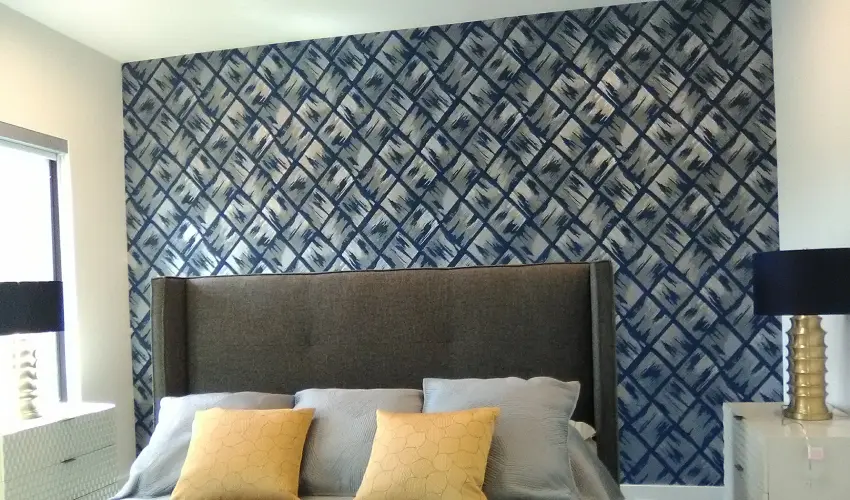
Decorative wallpaper is an affordable solution for creating an appealing look. Prepasted wallpapers are the best choice for both residential and commercial places. Proper installation will create a polished, wrinkle-free, and smooth look. Among all wallpaper options, prepasted wallpaper is a popular choice because of its ability to fit well in both temporary and long-term spaces. These come with factory-applied adhesive on their back. You only need water to activate it before installation.
For those looking for the best techniques to hang prepasted Modern Wallpaper correctly, we are going to discuss everything from wall preparation to final finishing touches. Whether you are decorating a bedroom, office, apartment, or living room, following the right process helps you avoid bubbles, peeling edges, and pattern alignment problems. Let’s walk through the complete process.
What Is Prepasted Wallpaper?
Prepasted wallpaper has a dry adhesive layer already applied to its backside. Unlike traditional wallpaper, you do not need separate glue. Once activated with water, the adhesive becomes sticky and ready for installation.
Benefits of prepasted wallpaper include:
- Easy installation for beginners
- Less mess compared to pasted wallpaper
- Faster application process
- Wide range of patterns and styles
- Easy replacement and removal in many cases
It is an excellent option for homeowners who want a quick DIY wall upgrade.
Tools and Materials You Will Need
Before starting, gather all tools in one place. Having everything ready beforehand prevents interruptions during installation. Here is the list of essential materials:
- Prepasted wallpaper rolls
- Measuring tape
- Wallpaper smoothing tool
- Utility knife with fresh blades
- Sharp scissors
- Sponge or paint roller
- Water tray or spray bottle
- A bucket with clean, warm water
- Step ladder
- Pencil
- Level or plumb line
- Seam roller
- Drop cloths or plastic sheets
- Clean microfiber cloths
Measure Your Walls Before Buying Wallpaper
Many DIY projects fail because of incorrect measurements. For the perfect results, you need to measure:
- Wall height from floor to ceiling
- Width of each wall
- Windows and doors
To estimate how many strips of wallpaper you will need to install in your space, you can use this formula. Wall width ÷ wallpaper roll width = number of strips needed
Add approximately 10–15% extra material for pattern matching and mistakes. This extra amount becomes especially important if your wallpaper has large repeating patterns.
Step 1: Prepare the Wall Properly
Wall preparation is often overlooked, but professionals consider it one of the most important steps. A clean and smooth surface helps wallpaper stick properly and prevents visible imperfections.
Remove Obstacles
Clear the room as much as possible. Remove wall décor, switch plates, nails, hooks, and furniture close to walls. Cover floors and nearby furniture with protective sheets.
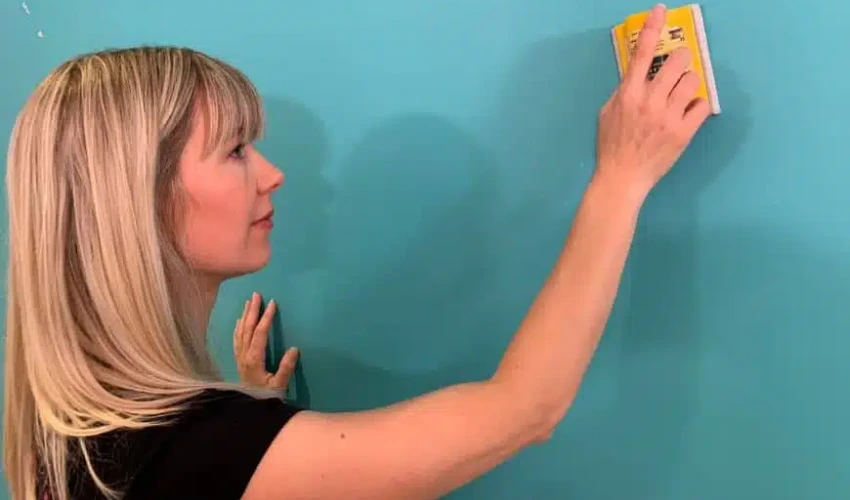
Clean the Surface
Dust, grease, and dirt can weaken adhesion. Wash walls using mild detergent solution, sugar soap, and warm water. Allow the wall to dry completely.
Repair Surface Damage
Check carefully for cracks, holes, peeling paint, and uneven surfaces. Fill holes with spackling compound and sand the area after drying. Smooth walls create cleaner wallpaper results.
Step 2: Draw Vertical Guidelines
Even slightly crooked wallpaper becomes noticeable across an entire room. Use a level or plumb line and lightly mark vertical guidelines with a pencil. Draw the first line where your first wallpaper strip will begin. This line becomes your reference point throughout the installation.
Step 3: Cut Wallpaper Strips
Measure wall height and cut wallpaper pieces. Leave an extra:
- 2–3 inches at the top
- 2–3 inches at the bottom
The additional length gives room for adjustments and trimming. If your wallpaper contains repeating patterns, align designs before cutting each strip. Label strip numbers lightly on the back. For example:
- Strip 1
- Strip 2
- Strip 3
This keeps installation organized.
Step 4: Activate the Adhesive
This is where prepasted wallpaper differs from standard wallpaper. Follow manufacturer instructions because soaking times can vary. Generally, these steps can work for smooth and flawless adhesive activation.
- Fill a water tray with clean lukewarm water
- Submerge the wallpaper strip completely
- Leave it in water for several seconds
- Remove carefully
Some wallpaper brands recommend using a spray bottle instead of soaking. Avoid using very hot water because it may weaken the adhesive.
Step 5: Book the Wallpaper
After wetting the wallpaper, fold the adhesive sides together without creasing. This process is called booking. Leave the folded strip for approximately 3–5 minutes. Booking allows moisture to spread evenly and activates the adhesive completely. Skipping this step can lead to wrinkles and uneven expansion.
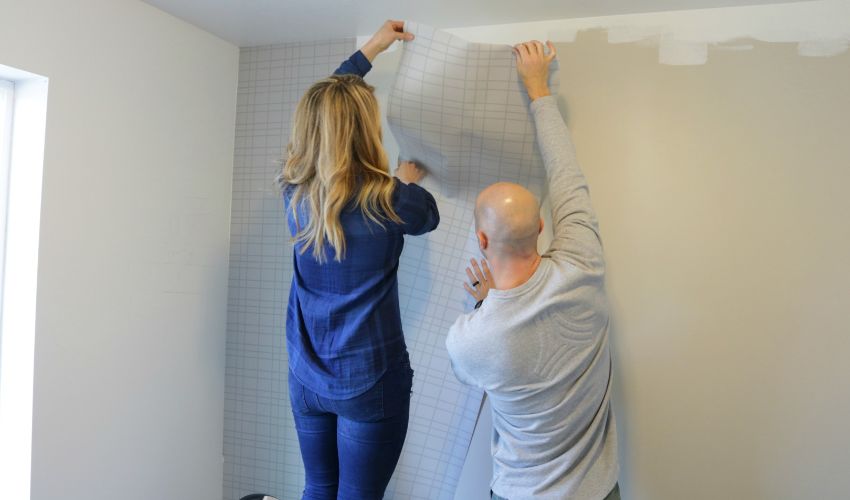
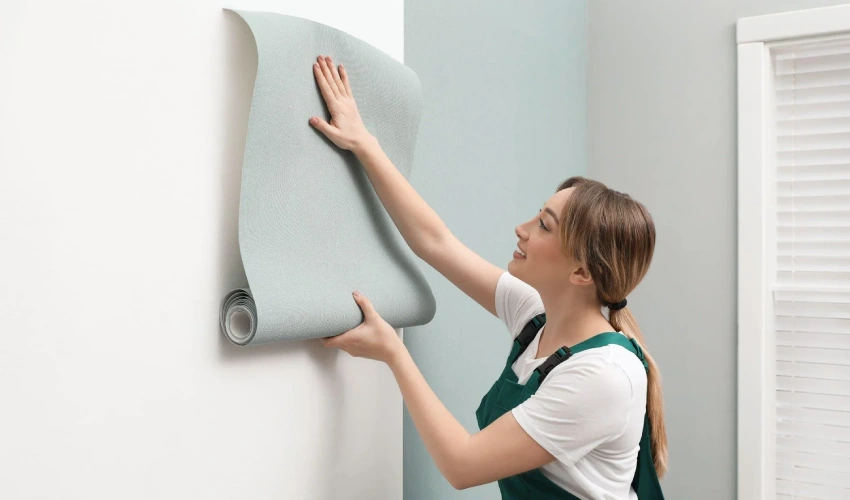
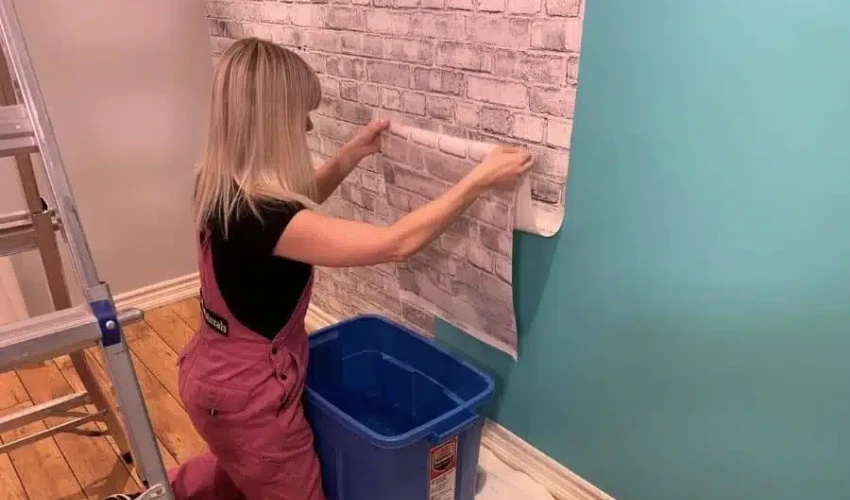
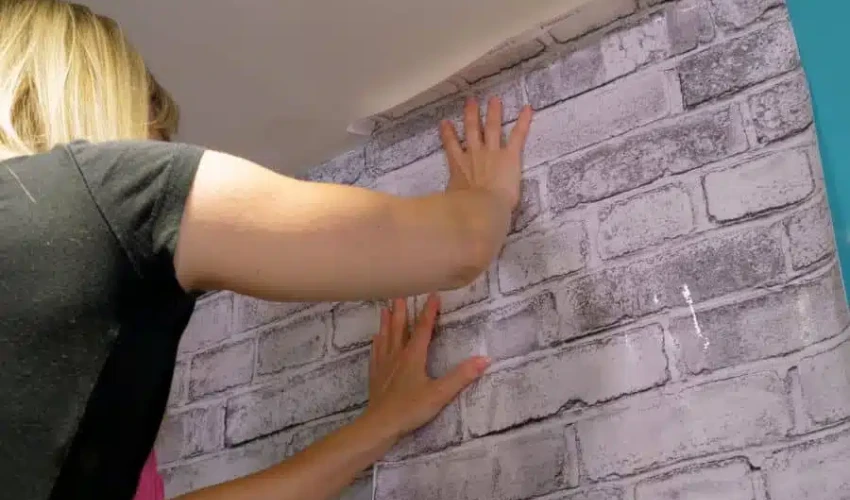
Step 6: Hang the First Wallpaper Strip
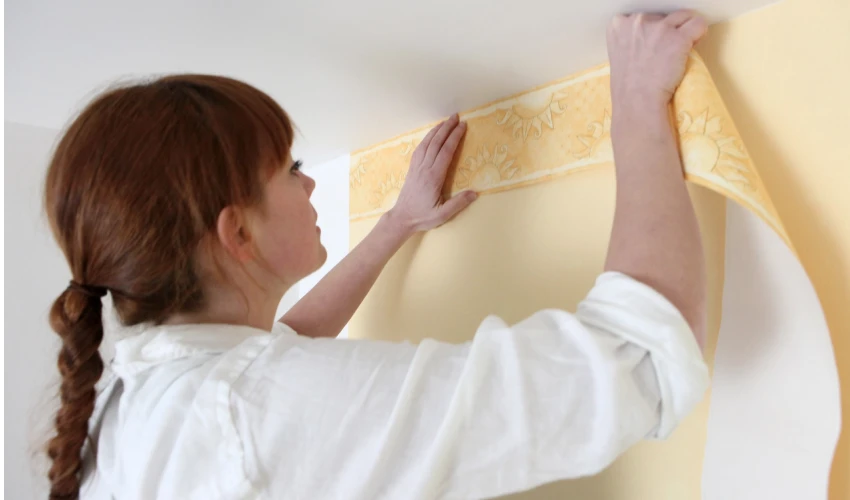
The first strip determines the alignment of every strip afterward. Carefully unfold the upper section. Align one side with your vertical guideline. Leave a slight excess at the ceiling and press the wallpaper gently against the wall. Use a wallpaper smoother from the center outward. This action removes:
- Air bubbles
- Wrinkles
- Trapped moisture
Work slowly and do not stretch the wallpaper.
Step 7: Trim Excess Material

Once the strip is positioned correctly, use a straightedge and utility knife to trim extra wallpaper along:
- Ceiling edges
- Baseboards
- Corners
- Around outlets and switches
Replace dull blades frequently. Sharp blades create clean cuts and prevent tearing.
Step 8: Match Wallpaper Patterns
Pattern alignment separates amateur work from professional results. When installing the second strip:
- Match patterns carefully
- Position strips edge-to-edge
- Avoid overlapping unless instructed by the manufacturer
Take your time here. Even a small mismatch becomes highly noticeable.
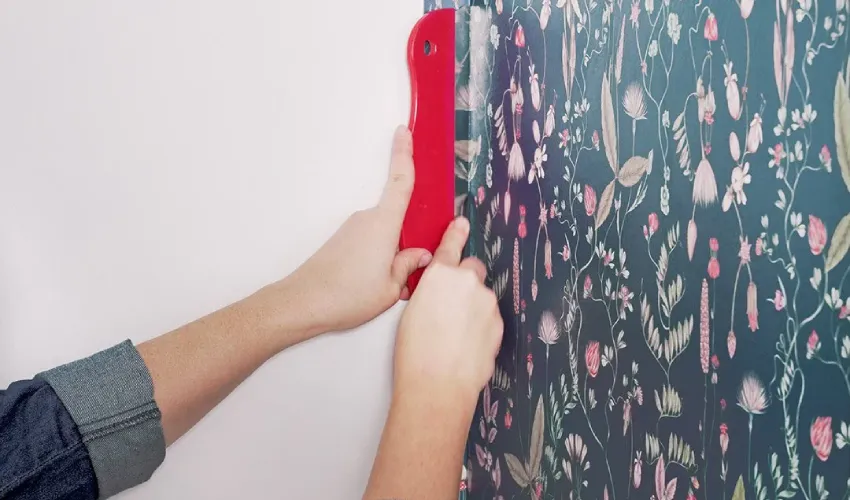
Step 9: Smooth Seams Carefully
Use a seam roller lightly over wallpaper joints. This helps:
- Secure edges
- Reduce visible seams
- Improve overall appearance
Do not press too hard. Excess pressure can push adhesive outward and damage seams.
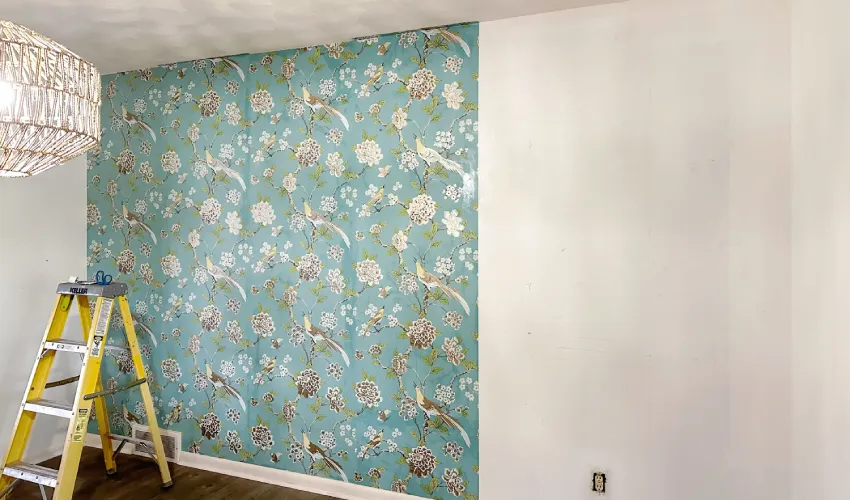
Step 10: Continue Across the Room
Repeat the same process from start to end. The step-wise process includes
- Wet wallpaper
- Book it
- Align patterns
- Smooth surfaces
- Trim edges
Check regularly for air pockets, loose corners, and wrinkles. Fix issues immediately before the adhesive begins drying.
Common Mistakes to Avoid
Many DIY wallpaper projects go wrong because of small mistakes. Avoid these issues:
Starting Without Guidelines
Crooked first strips create alignment problems across the wall.
Skipping Wall Preparation
Dirty or rough walls reduce adhesion quality.
Oversoaking Wallpaper
Too much water weakens the adhesive.
Ignoring Pattern Matching
Patterns that do not line up create an unfinished appearance.
Using Dull Blades
Old blades tear wallpaper instead of cutting cleanly.
Rushing the Process
Patience creates better results.
Professional Tips for Better Results
Proper fixing of wallpaper offers a pleasant change in wall appearance. For a cleaner finish:
- Keep your hands clean while handling wallpaper
- Wipe excess adhesive immediately
- Change the water if it becomes dirty
- Work in a room with a moderate temperature
- Keep windows closed until the wallpaper dries
These small details often make a noticeable difference.
How Long Does Prepasted Wallpaper Take to Dry?
Most prepasted wallpapers dry within 24–48 hours. Drying time depends on these factors.
- Room humidity
- Ventilation
- Wallpaper thickness
- Temperature conditions
Avoid touching or adjusting wallpaper while it dries.
Final Thoughts
Learning how to hang prepasted wallpaper is easier when you follow the right process. Proper wall preparation, correct adhesive activation, booking, and careful pattern alignment can give your walls a professional-looking finish.
Whether you are refreshing a bedroom, upgrading a living room, or redesigning an office wall, prepasted wallpaper offers a quick and affordable transformation. If the installation feels overwhelming or you want flawless results, professional wallpaper installation services can save time and ensure a perfectly finished space.
Frequently Asked Questions
Can I apply prepasted wallpaper over existing wallpaper?
It is not recommended. Remove old wallpaper first because uneven surfaces may affect adhesion and appearance.
Do I need wallpaper glue with prepasted wallpaper?
No. Prepasted wallpaper already contains adhesive activated with water.
Why is my wallpaper bubbling?
Air bubbles usually happen because of insufficient smoothing, improper booking, or uneven adhesive activation.
Can beginners install prepasted wallpaper?
Yes. Prepasted wallpaper is considered one of the most beginner-friendly wallpaper types.