Fitting blinds on a standard window is usually straightforward. However, bay windows introduce a different level of complexity due to their angles, multiple panels, and unique structure.
That does not mean the job is difficult. It simply requires better planning, accurate measurements, and the right approach. With careful execution, you can install blinds that look clean, function smoothly, and enhance the overall appearance of your space.
What Are Bay Windows?
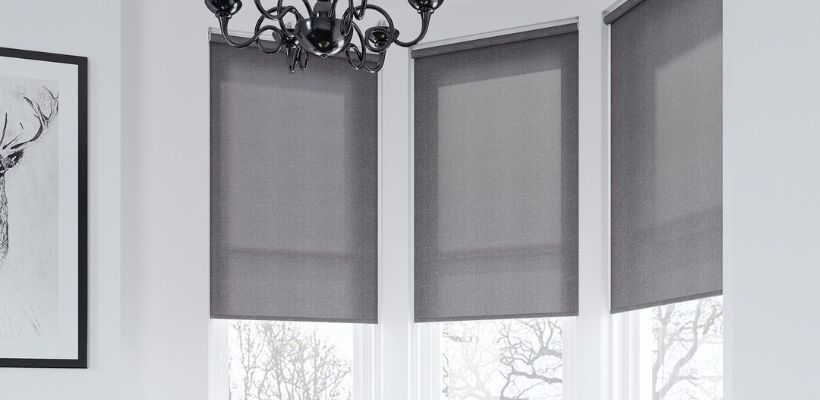
Bay windows are window structures that extend outward from the main wall of a room. They typically consist of three or more panels arranged at angles, creating a wider view and additional interior space.
They are popular for both their visual appeal and functionality. Bay windows allow more natural light into the room and often create a cozy seating or decorative area.
Why Bay Windows Are Worth It

Bay windows are not just about appearance. They offer practical benefits that improve both comfort and design.
They increase natural light, making rooms feel brighter and more open. The extended structure also adds usable space, which can be styled as a seating nook or display area.
From a design perspective, they enhance the exterior look of a home and often become a focal point inside the room.
Why Installing Blinds in Bay Windows Is Challenging

The main difficulty comes from the structure itself. Each panel needs to be treated separately, which means more measurements and precise alignment. The angles between panels can make it difficult to fit standard window blinds properly. In many cases, slight miscalculations can lead to gaps or uneven finishes.
Another challenge is choosing blinds that match the style of the window while still functioning smoothly. Balancing aesthetics with practicality requires careful consideration.
Common Types of Bay Windows
Bay windows come in different styles, and each type may require a slightly different installation approach.
Box bay windows have sharp angles and flat panels, making them relatively easier to work with. Bow windows feature gentle curves, which can be more challenging for blind fitting. Oriel and gable styles vary in structure and may require custom solutions. Understanding your window type helps you plan the installation more effectively.
How To Measure Bay Windows Correctly
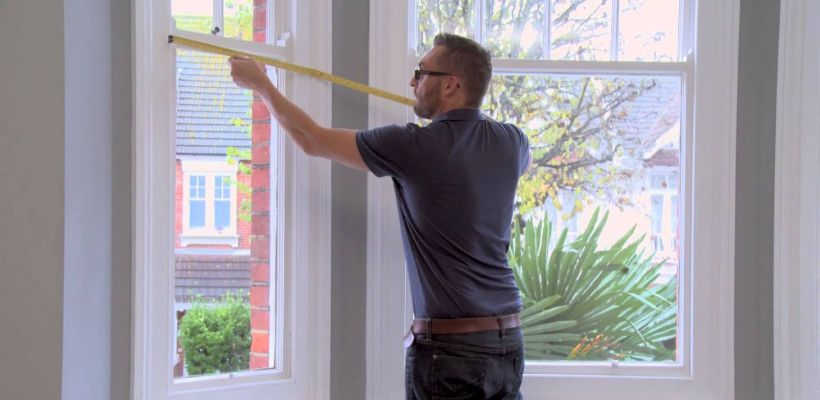
Accurate measurement is the most important part of the process. Even small errors can affect the final result.
- Start by measuring the width of each panel individually. Take measurements at the top, middle, and bottom, and use the largest value to ensure proper coverage.
- Next, measure the height from the top of the frame to the bottom. Repeat this for each panel to maintain consistency.
- Finally, measure the depth of each section. This step is essential to ensure that the blinds fit without obstruction from handles or window hardware.
- Taking time during measurement prevents issues during installation.
Tools You Will Need

Before starting, make sure you have all the necessary tools ready. This avoids interruptions and helps maintain accuracy.
- measuring tape
- pencil
- screwdriver
- drill
- level
- ladder
Step-by-Step Guide to Fitting Blinds in a Bay Window
A systematic approach ensures a clean and professional finish.
Step 1: Plan the Layout

Decide whether you want to install blinds inside each panel or across the entire bay.
Fitting blinds inside each section is the most common method because it follows the natural structure of the window and provides better light control.
Step 2: Mark the Bracket Positions
Using your measurements, mark where the brackets will be installed. Ensure that the markings are level and aligned properly. Even slight misalignment can cause blinds to hang unevenly.
Step 3: Install the Brackets

Drill holes at the marked points and fix the brackets securely. Make sure they are firmly attached, as they will support the weight of the blinds. Repeat this process for each panel.
Step 4: Attach the Blinds
Once the brackets are in place, fit the blinds into position. Check that they are properly aligned and operate smoothly. Adjust if necessary before final tightening.
Step 5: Test the Functionality

After installation, test each blind individually. Open and close them fully to ensure there are no obstructions. Smooth operation is a sign of correct installation.
10 Smart Tips for Better Results

Fitting blinds in a bay window becomes much easier when you follow a few practical tips. First, always measure each panel separately instead of assuming equal sizes. Second, consider custom-made blinds if your window has unusual angles. Third, leave enough clearance for window handles and other obstructions. Fourth, use a level tool to maintain alignment. Fifth, choose lightweight blinds if you want easier installation.
Sixth, match the blind style with your interior design for a cohesive look. Seventh, avoid rushing the process, especially during measurements. Eighth, test all components before final installation. Ninth, ensure strong bracket support to prevent long-term issues. Finally, plan your installation method based on how often you will use the blinds.
Choosing the Right Blinds for Bay Windows

Not all blinds work equally well in bay windows.
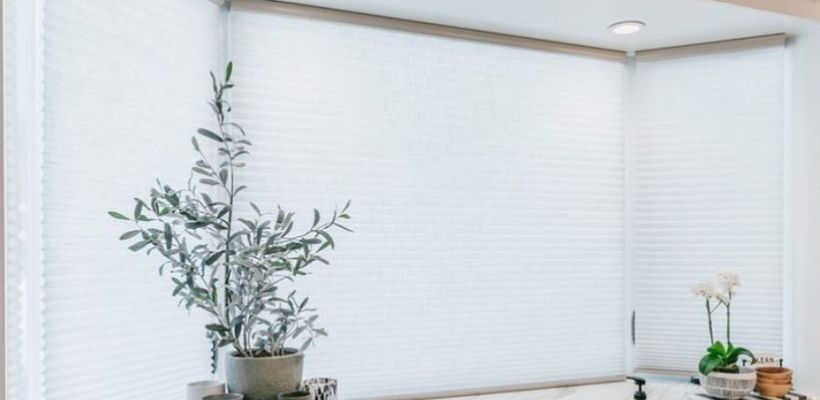
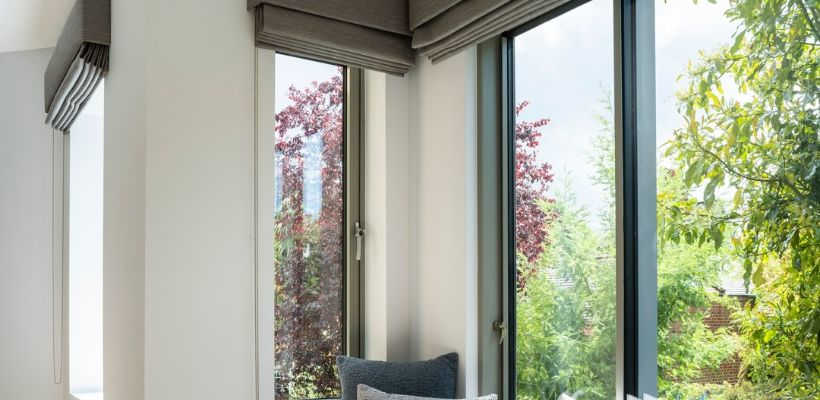
- Roller blinds and Roman blinds are popular because they fit neatly within each panel. Wooden and faux wood blinds add a more classic look while offering good light control.
- For maximum privacy, blackout options are a practical choice, especially in bedrooms.
- The right choice depends on your needs, whether it is light control, privacy, or design.
Final Thoughts
Fitting blinds in a bay window may seem complicated at first, but it becomes manageable with the right approach. The key is preparation. Accurate measurements, proper tools, and careful installation make a significant difference in the final result.
With a bit of patience and attention to detail, you can achieve a clean, functional, and visually appealing setup that enhances both the style and usability of your space.