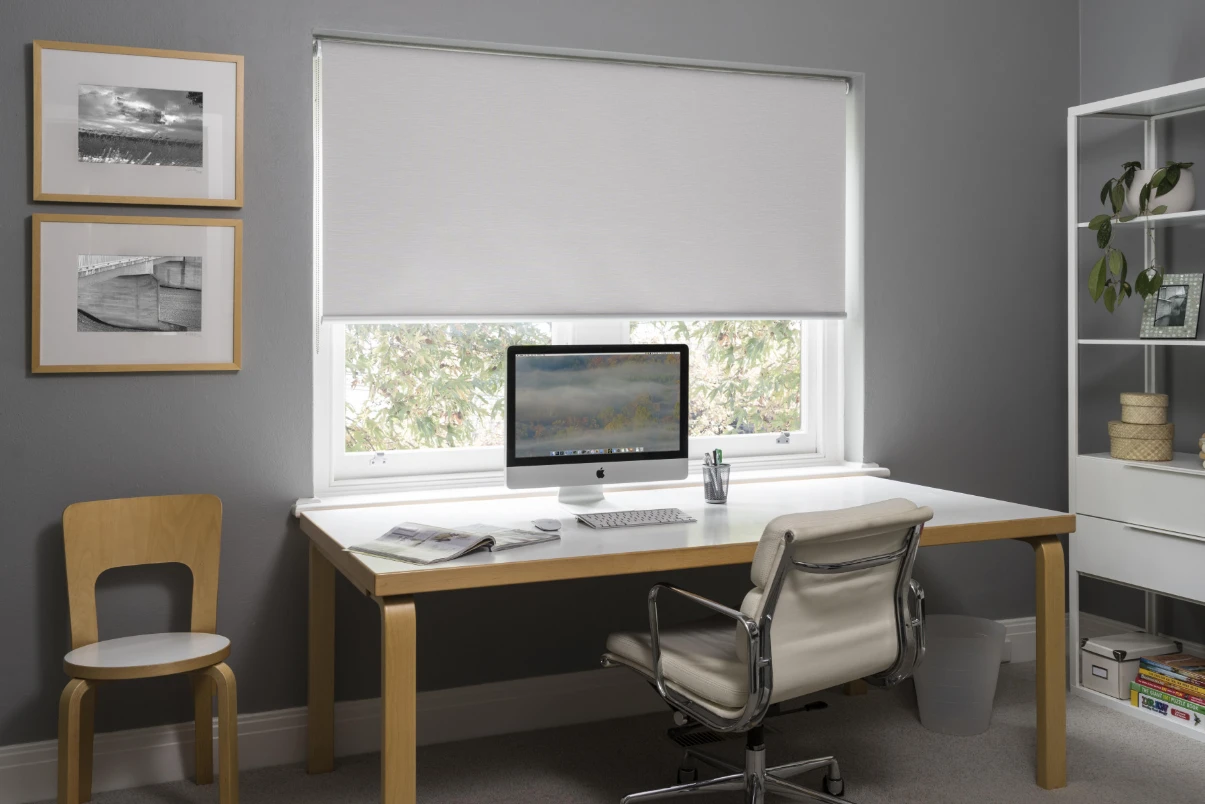
Creating a home theater no longer requires a dedicated room, expensive installations, or bulky equipment. With the rise of compact projectors and minimalist interiors, people are finding smarter ways to turn everyday elements into functional media setups. One of the most practical solutions is using roller blinds as a projector screen.
It might sound unconventional at first, but when done correctly, it can deliver a surprisingly immersive viewing experience. Whether you want to enjoy movies, gaming nights, or weekend sports with friends, this setup offers flexibility without the high cost of a traditional screen.
Can Roller Blinds Really Work as a Projector Screen?
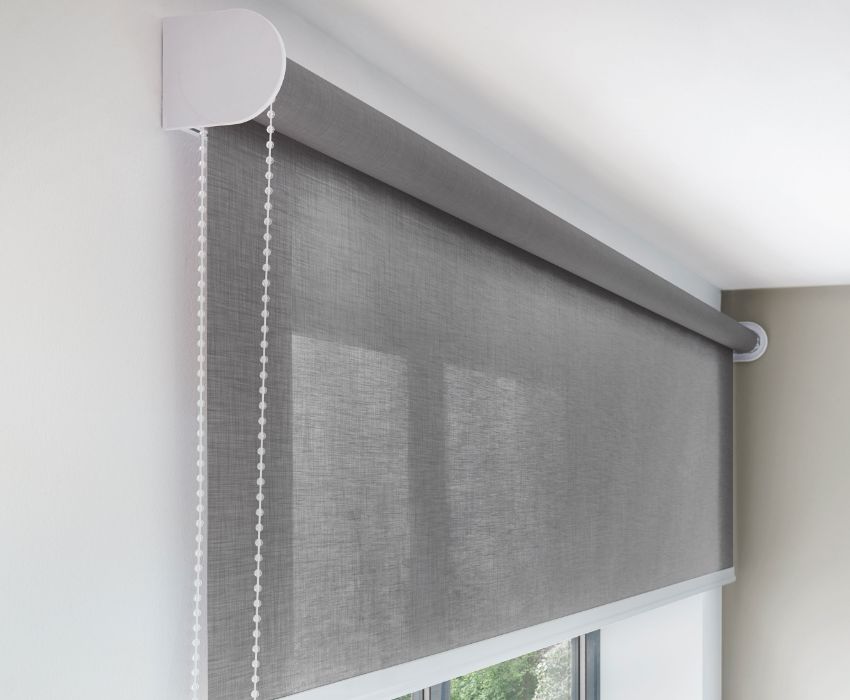
Yes, roller blinds can work as a projector screen, but they are not a perfect substitute for a dedicated projection surface. The results depend on three main factors: fabric quality, light control, and installation precision.
Unlike professional screens, roller blinds are not designed with reflective coatings. However, high-quality blackout blinds with smooth surfaces can come close enough for casual viewing. For most home users, especially those prioritizing convenience and budget, the trade-off is reasonable.
The key is not to expect cinema-grade performance. Instead, think of this as a functional, adaptable solution that blends into your living space.
Why This Idea Is Gaining Popularity
Modern interiors are shifting toward multi-purpose spaces. A living room is no longer just for sitting; it doubles as a workspace, entertainment zone, and relaxation area. Roller blinds fit perfectly into this trend because they already exist in most homes and do not require additional space.
Cost is another major driver. A high-end projector setup can be expensive, and while the claim that systems cost tens of thousands is exaggerated for most users, quality screens and installations still add up. Using blinds removes that expense entirely.
There is also a design advantage. Unlike fixed projector screens, roller blinds can be rolled away when not in use. This keeps the room visually clean and avoids the “always-on cinema” look that doesn’t suit every home. Check the steps below to use roller blinds as the projector.
Step 1: Choosing the Right Size of Roller Blinds
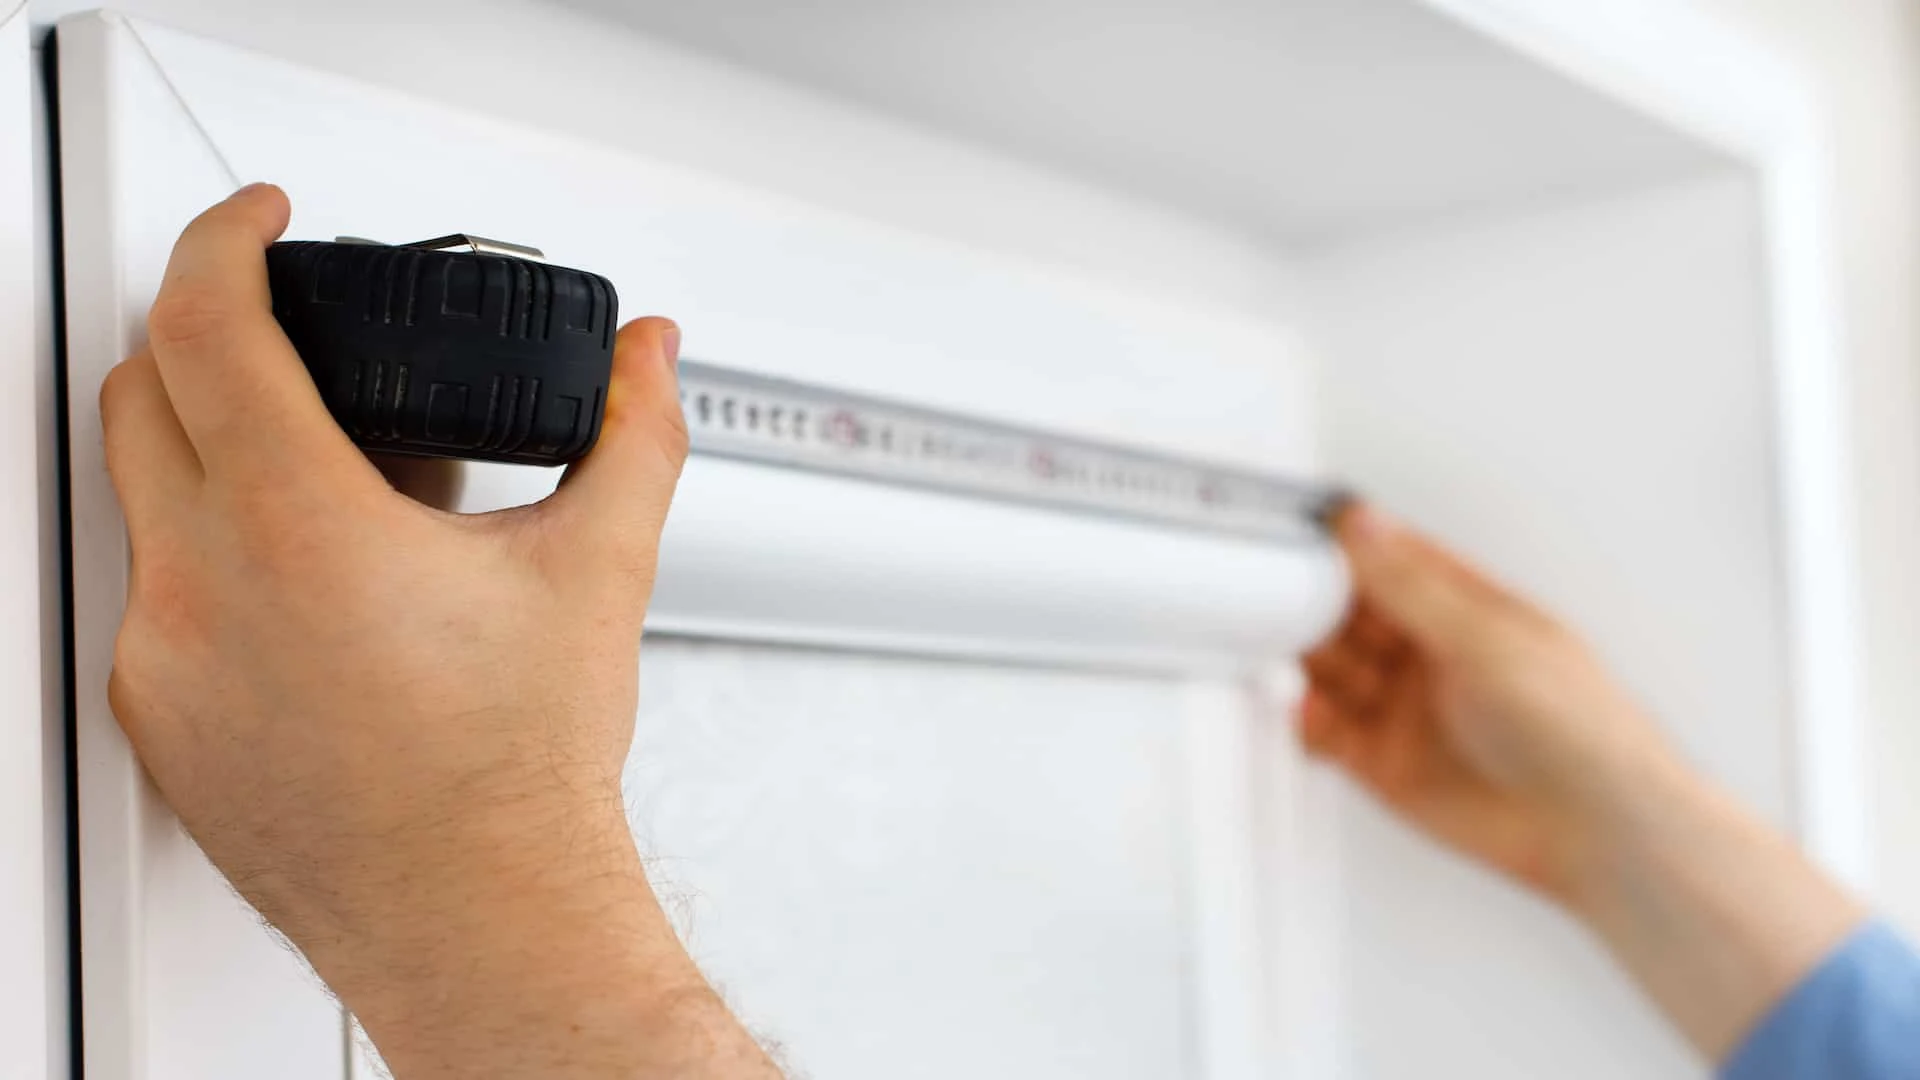
The size of your blinds directly affects the viewing experience. A screen that is too small reduces immersion, while one that is too large may lead to distortion or poor brightness.
Start by measuring the wall or window where the blinds are installed. Then consider your seating distance. A general rule is that the screen width should be about one-third of the viewing distance for comfortable watching.
Also, ensure the blinds extend slightly beyond the window frame. This helps block light leakage from the sides, which can otherwise reduce image clarity.
Step 2: Selecting the Best Material
Material choice is where most setups succeed or fail. Thin or translucent fabrics allow light to pass through, which weakens the projected image and reduces contrast.
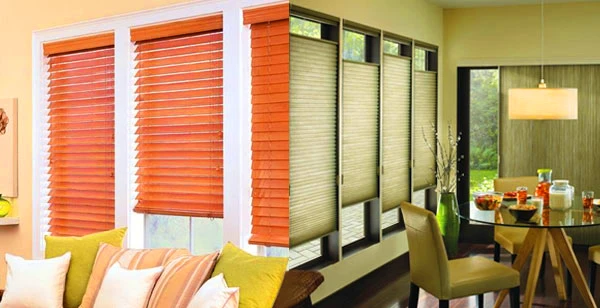
Blackout fabrics are the most effective option. They are dense, opaque, and designed to block external light completely. Among these, polyester-based blackout blinds are widely preferred because they offer a smooth finish and resist wrinkles better than cheaper alternatives.
A smooth surface is critical. Even minor texture variations can scatter light and reduce sharpness. If your existing blinds feel slightly rough or uneven, the image quality will reflect that limitation.
Step 3: Choosing the Right Color for Projection
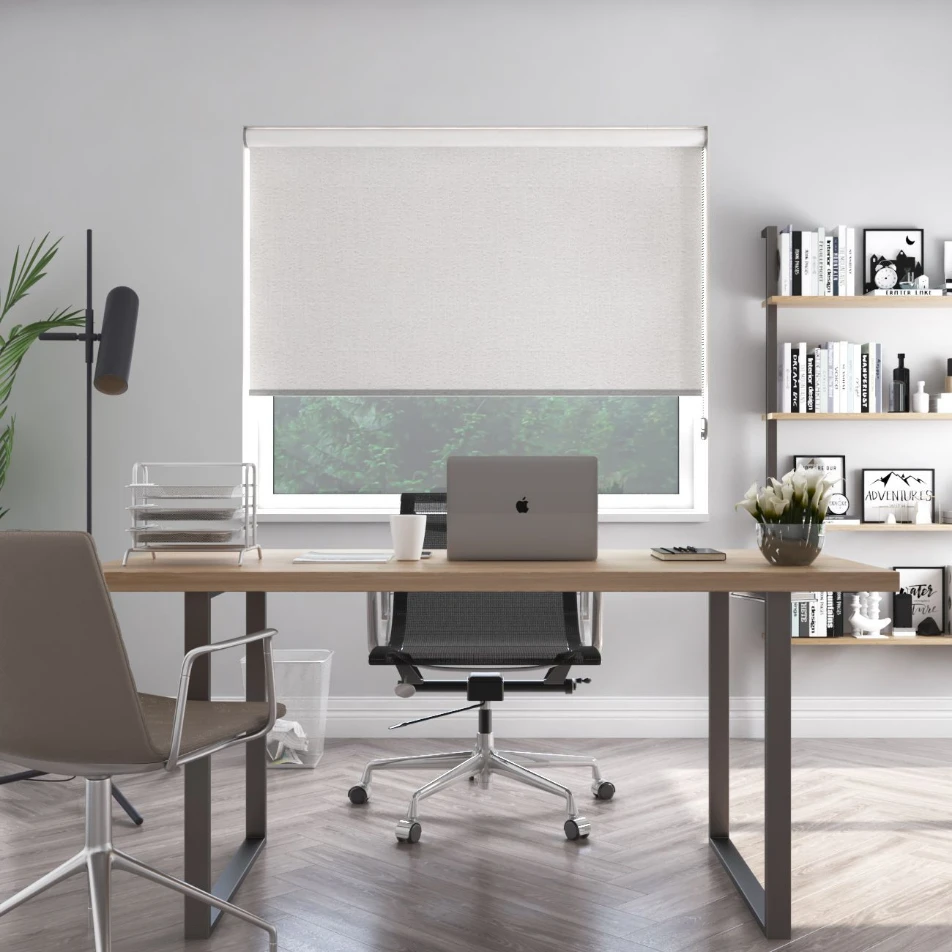
Color plays a bigger role than many people assume. White and grey are the most suitable options, but they serve slightly different purposes.
White blinds provide brighter images and are ideal for darker rooms where you can control lighting completely. They reflect more light, making visuals appear vivid and clear.
Grey blinds, on the other hand, improve contrast. They help maintain deeper blacks and reduce washout in rooms with some ambient light. This makes them a better choice for living rooms where total darkness is not always possible.
Black blinds should generally be avoided. They absorb light instead of reflecting it, which results in a dim and unclear image.
Step 4: Preparing the Blinds for a Smooth Surface
Wrinkles and creases are the biggest enemies of projection quality. Even small folds can distort the image and make straight lines appear warped.
Before using your blinds as a screen, ensure they are completely flat. If wrinkles are present, you can remove them carefully using heat. Ironing from the back side is effective, but always use a protective cloth to avoid damaging the material.
Another simple method is letting the blinds hang fully extended for a few hours in a warm environment. Gravity and heat can naturally reduce minor creases.
Cleanliness also matters. Dust or stains can become visible when light is projected, so wipe the surface before use.
Step 5: Stabilizing the Blinds for Viewing
A stable surface is essential for a good viewing experience. If the blinds move even slightly due to airflow or loose fittings, the image will appear shaky.
Ensure the blinds are firmly installed and properly aligned. If needed, you can add a small weight at the bottom to keep them taut. This is a common trick in modern DIY setups and helps maintain a flat surface.
Interestingly, the back side of some roller blinds is smoother than the front. If the color and finish allow, using the reverse side can improve image clarity.
Step 6: Positioning the Projector Correctly
Even with perfect blinds, poor projector placement can ruin the experience. The projector should be positioned at the correct distance and height to match the screen size.
Most projectors come with a “throw ratio,” which determines how far they need to be from the screen. Following this guideline ensures the image fits properly without distortion.
The lens should ideally align with the center of the screen. If placed too high or too low, you may need to use keystone correction, but excessive adjustment can reduce image quality.
Lighting control is equally important. For the best results, minimize ambient light by turning off room lights or using additional curtains.
Advantages of Using Roller Blinds as a Projector Screen
One of the strongest benefits is cost efficiency. Instead of investing in a separate screen, you are using something already available in your home. This makes it accessible to a wide range of users.
- Another advantage is convenience. There is no need for permanent installation or structural changes. You simply lower the blinds when needed and roll them back up afterward.
- Flexibility is also a major plus. You can adjust the screen size by controlling how much of the blind is extended. This allows you to adapt the setup based on the content or number of viewers.
- Space saving is particularly valuable in smaller homes or apartments. Since the blinds serve a dual purpose, they eliminate the need for additional equipment.
Limitations You Should Be Aware Of
While this setup is practical, it has limitations. The image quality will not match that of a dedicated projector screen, especially in terms of brightness and color accuracy. Another issue is durability. Frequent use as a screen may cause wear over time, especially if the blinds are not designed for repeated handling.
Ambient light is also a challenge. Without proper light control, the image can appear washed out, particularly on white blinds. Recognizing these limitations helps set realistic expectations and prevents disappointment.
Factors to Consider When Buying New Roller Blinds
If you are purchasing blinds specifically for projection, focus on opacity first. Blackout materials are essential for minimizing light interference.
- Fabric quality should be your second priority. Higher-quality materials maintain a smoother surface and resist wrinkles better, which directly improves projection performance.
- Color selection should align with your room conditions. White works best in dark environments, while grey is more versatile for mixed lighting.
- Finally, ensure the size is slightly larger than your window frame. This improves coverage and enhances the overall viewing experience.
Roller Blinds vs. Roman Blinds for Projection
Roman blinds are visually appealing, but they are not suitable for projection. Their folded structure creates permanent creases, which distort the image.
Roller blinds, in contrast, offer a flat and continuous surface. This makes them far more effective for displaying projected content.
If projection is your goal, the choice is clear. Roller blinds provide the simplicity and smoothness required for a functional screen.
DIY Installation Overview
Installing roller blinds is relatively straightforward. It involves measuring the window, fixing brackets, attaching the rolling mechanism, and ensuring smooth operation.
Precision during measurement is important. Misaligned brackets can cause the blinds to hang unevenly, which affects both appearance and functionality. Once installed, test the mechanism to ensure it rolls smoothly and stays in place at different heights.
Final Thoughts
Using roller blinds as a projector screen is a practical and creative solution for modern homes. It reflects a broader shift toward adaptable living spaces where functionality and design go hand in hand.
While it does not replace a professional setup, it offers a balanced alternative for those who want a cinematic experience without heavy investment. With the right material, proper setup, and realistic expectations, you can create an enjoyable viewing environment right in your living room.
The real advantage lies in flexibility. You are not committing to a permanent installation, yet you still gain the ability to transform your space whenever you want. That balance is what makes this approach increasingly relevant in today’s homes.