How to Install Vinyl Plank Flooring as a Beginner?
Have you ever dreamed of having a beautiful hardwood floor in your home? But the price tag that comes along with hardwood flooring is something that you may not be able to afford.
Fortunately, vinyl plank is a great alternative and can help you achieve the look of polymer composite spc vinyl floor without breaking the bank.
This guide will show you step-by-step how to install vinyl plank flooring for a beginner. Vinyl design flooring is one of the easiest types of flooring to install and it’s super affordable.
The process involves measuring and cutting and adhering. It’s really easy and can be done in one day!
Essential Steps to Install Vinyl Plank Flooring
Here are some easy & quick instructions to help you learn how to install eco friendly vinyl flooring on your own.
There will be a need for specific equipment and supplies so that you can quickly install them and give your room a beautiful appearance.
If you follow the procedures carefully, you will find that installing vinyl plank flooring is not difficult.
This quick guide will show you how to install vinyl plank flooring as a beginner. This is the easiest way to do it. So, before we move on let’s check out the steps.
Essential Material and Tools to Install Vinyl Plank Flooring
First and foremost, you will require the following materials and tools in order to successfully install vinyl plank flooring in your living space.
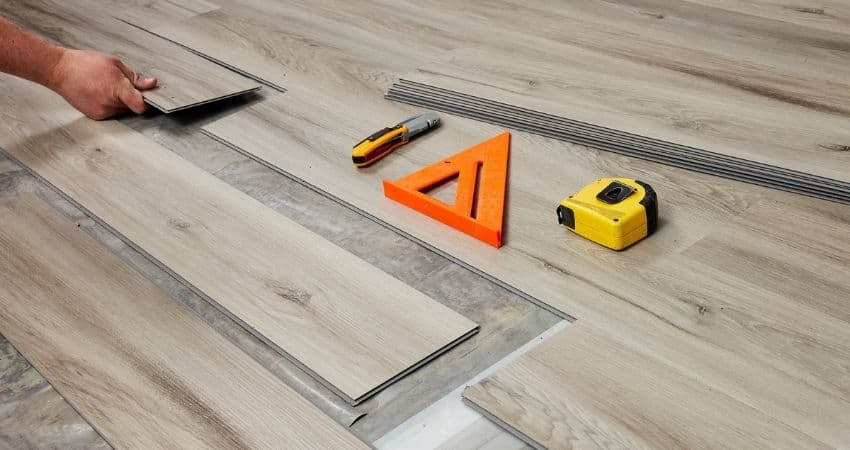
When you begin the installation, make sure you have all of the supplies, Hammer, Measuring Tape, Flat pry bar, Utility Knife, Fine-tooth saw, Straightedge, Drawbar tool, Vinyl flooring planks, and other essential tools.
The First Step Is To Remove All the Accessories First
Install vinyl plank flooring when you’re ready using the above-mentioned tools. There is one more item that must be completed prior to the installation. First and foremost, consider how you want your flooring to be placed in your home.
When you’ve finished designing, start removing all of the trim moldings, ensuring it’s in contact with the floor to make installation easier.
The Second Step Is To Prepare The Floor Before Installation of Vinyl Plank Flooring
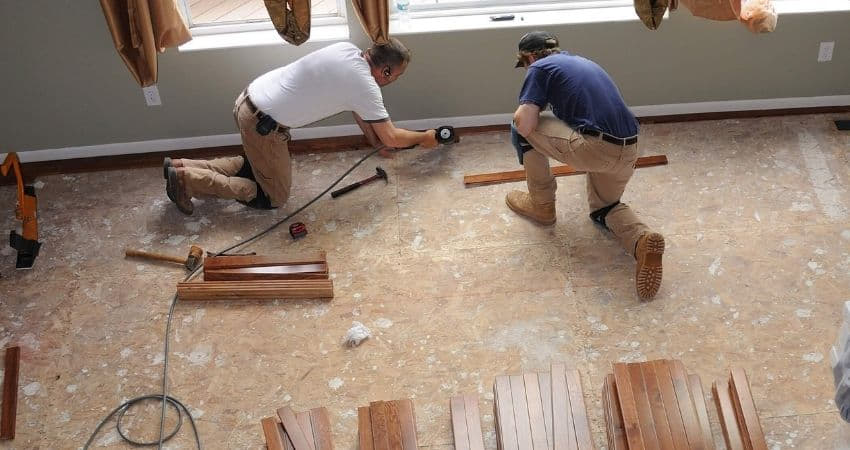
After removing the trim molding, it’s time to prepare your floor for the installation of vinyl plank flooring.
Of course, vinyl plank flooring is laid over an existing floor, but the surface must be sufficiently level and smooth. So, if you see any high places, sand them down to create a uniform surface.
Now, Test the First Row and Cut the Planks
In order to properly cut the planks, you must first test the first row by placing it on the floor to get an idea of the pattern and make your cutting process easier. To put the row to the test, leave a spacing that is nearly 14 inches from the wall.
When it comes to installing vinyl plank flooring, proper plank cutting is a must if you want to give your room a charming appearance.
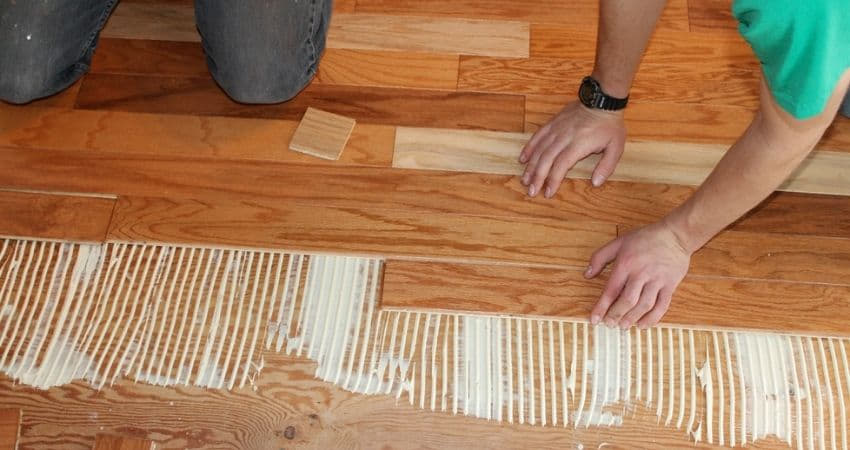
Now This is the time to Install the Planks on to the Floor
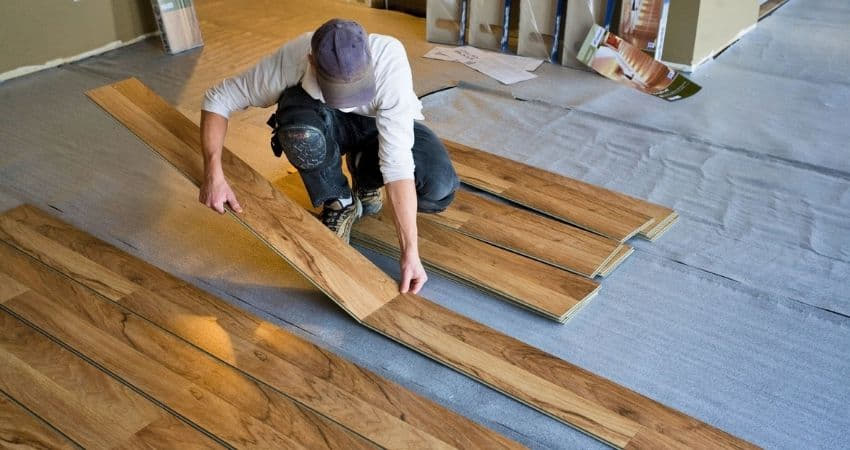
Vinyl planks are often joined to each other edge-to-edge or end-to-end using a tongue-and-groove or fold-and-lock mechanism to ensure correct flooring installation at your location. Install the first piece of vinyl plank flooring on the subfloor now.
Make sure the first plank is flat and the second plank is angled and inserted into the receiving trench of the first plank.
Fold the second plank until it is securely linked to the first board. Once the first row is in place, repeat the process with the other rows.
Keep in mind that the planks’ end joints should be stumbled enough and almost 6 inches apart from the preceding row’s end joints.
You May Kneed to Know: How To Lay Sheet Vinyl Flooring
The next step is to Cut and Fit Across the Ledges
If there are any obstructions, such as door frames or floor ducts, use a utility knife to cut the boards to the desired form.
By holding the cut-out plank in an upward position after cutting it into the proper form, you may get it to fit across the ledge. Then begin folding it down until it locks into the previous/adjacent plank.
This is the time to Install the Last Row of Vinyl Plank Flooring
After you’ve completed the installation of your whole space, it’s time to complete the work by installing the final row of vinyl plank flooring.
Cut the last row of boards into narrow strips so that the distance between the plank and the wall is nearly 14 inches. You may cut them using the same method, which involves softly passing the knife across the board many times.
Conclusion
Now you can assume that you’ll be able to install vinyl plank flooring in your room without spending a lot of money on a professional installation. Follow these simple steps to properly install vinyl plank flooring and give your home a new look.
I hope you found this guide informative and are now aware of the installation of vinyl plank flooring as a beginner.
I strongly advise you to use these steps for a flawless flooring installation. These suggestions are far more effective and straightforward.
In Dubai, UAE, Fixing Expert specializes in professional Renovation Company. Our commitment lies in resolving various interior issues through our best methods and suggestions.
Read more.
- Best Tools To Cut Vinyl Plank Flooring
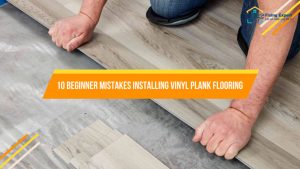
- 10 Common Mistakes In Installing Vinyl Plank Flooring
- Difference Between Luxury Vinyl Tile And Vinyl Plank Flooring
- Pros And Cons Of Vinyl Plank Flooring
- How To Lay Sheet Vinyl Flooring? Step By Step Guide