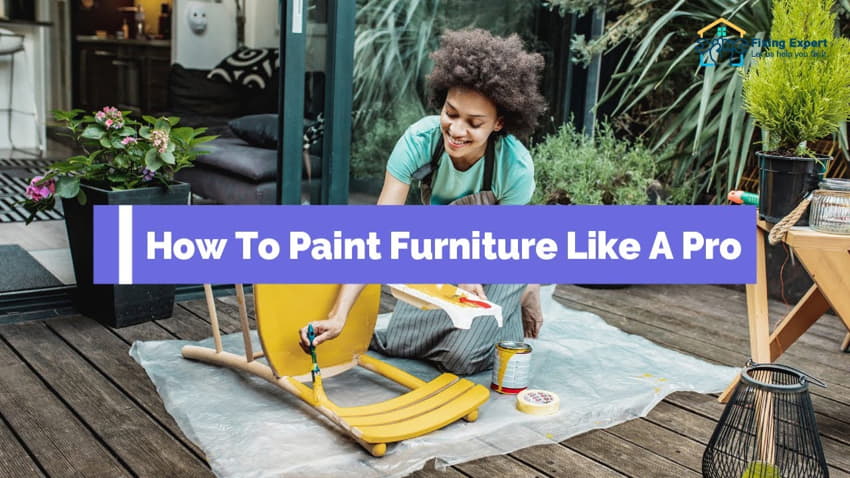
How To Paint Furniture Like A Pro: A Simple Step-by-Step Guide
Painting your furniture can be a great way to give it a new lease on life. It can also be a fun and rewarding project, whether you’re painting outdoor garden furniture set for the first time or you’re a seasoned pro.
We’ll demonstrate how to paint furniture expertly in this post. In just a few easy stages, we’ll go through all you need to know, from preparation to finishing. With these tips, you’ll be able to transform any piece of furniture, no matter its current condition, into a beautiful work of art. So let’s get started!
Some Essential Steps To Paint A Furniture
Whether you’re wanting to add a new pop of color to an old piece or achieve a distressed look, painting your custom timber-made furniture is a great way to breathe new life into tired pieces.
This guide will teach you everything you need to know about painting furniture, including the best supplies to use, how to prep your piece, and how to achieve a flawless finish.
5 Simple Steps: How Would You Paint Laminate Furniture?
By the end of this guide, you’ll be ready to paint your furniture with confidence!
1. Selecting The Right Paint
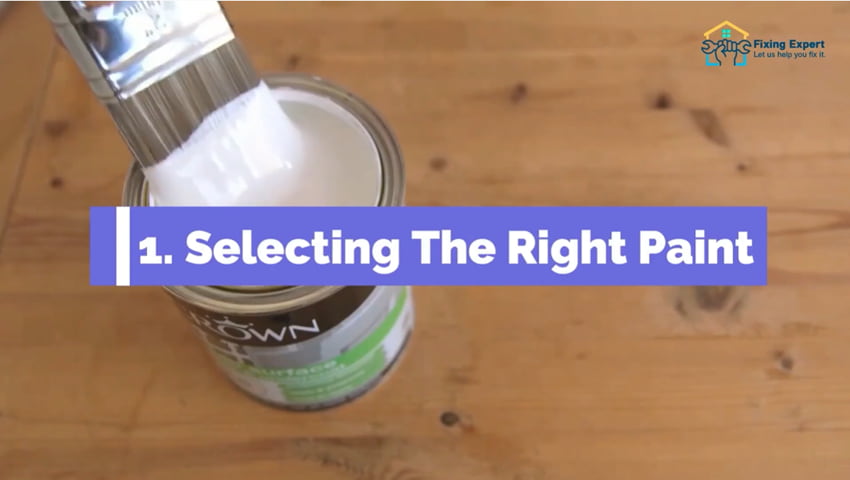
The first step to painting furniture like a pro is to select the right paint. Given the wide variety of paint kinds and brands available, this may be challenging. However, don’t worry; we are here to assist.
The sort of finish you choose should be your top priority when choosing paint for furniture. Glossy, semi-gloss, and flat paint finishes are the three most common varieties.
Tutorial: Best Tips to Spray Paint Furniture?
Glossy surfaces are extremely reflective and glossy furniture, like coffee tables and custom dining room chairs, as they’re easy to clean and maintain.
Semi-gloss finishes are less shiny than glossy finishes but more than flat finishes. They offer good durability and are often used on wardrobe cabinets, trim, and wooden doors.
Flat finishes have little to no shine and offer good coverage. They’re ideal for walls but can also be used on furniture, especially if you want to achieve a more rustic look.
Once you’ve decided on the finish you want, you can start narrowing down your paint choices. If you’re not sure what type of paint to use, we recommend latex paint as it’s easy to work with and cleanup is a breeze.
2. Preparing The Furniture For Painting

Now that you’ve selected the perfect paint, it’s time to prep your furniture for painting.
The first thing you need to do is remove any hardware from the piece of furniture you’re going to be painting. This includes handles, knobs, drawer pulls, etc. Once the hardware is off, give the piece a good cleaning with soap and water. This will get rid of any grit or dirt that can get in the way of painting.
Quick Learning: Simple Steps to Stain Wood Your Furniture
The furniture has to be sanded after that. This step is crucial since it will improve the patient’s ability to stick to the surface. Sand in the same direction as the grain if you’re going to paint over an existing finish.
To get rid of any dust after sanding, wipe the object down with a moist cloth. After that, wait until it is entirely dry before continuing.
3. Painting The Furniture
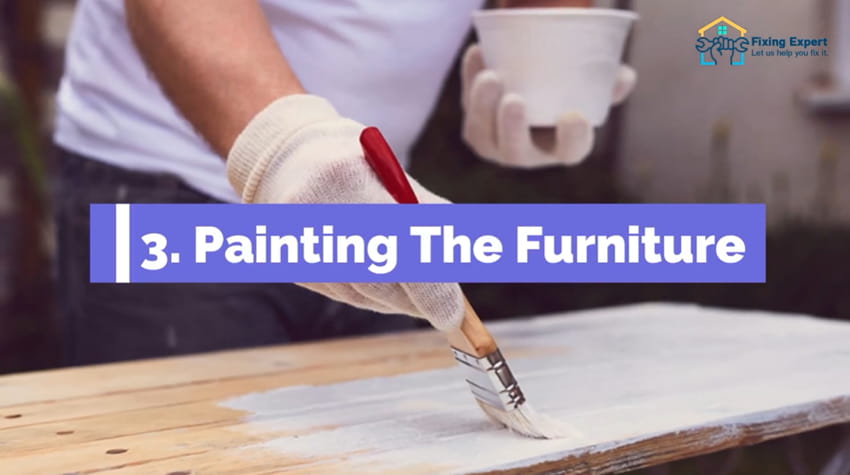
Now it’s time for the fun part – painting! To start, put some drop cloths or old towels down on your work surface to protect it from paint spills. Open your paint container and then pour some paint onto a paint tray.
Start painting the wood in long, even strokes that follow the grain using a high-quality brush. Use a primer first if you’re painting over an existing finish. By doing this, you can make sure that your new paint work is faultless.
As you paint, keep an eye out for drips or brush strokes and immediately fix them before they dry. Let the furniture item dry completely after painting one side of it before turning it over and painting the other.
Once both sides are dry, add any final touches like new hardware or accessories (if desired), then step back and admire your handiwork!
4. Finishing Touches
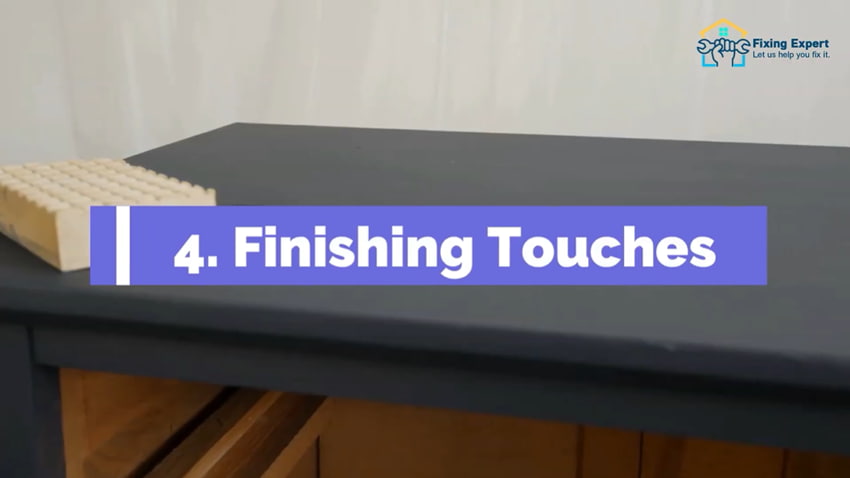
After you have put the final coat of paint on your furniture, there are still a few things you need to do to ensure that the paint job is perfect.
First, you need to let the paint dry completely. This can take anywhere from a few hours to a few days, depending on the type of paint you used. You must sand the furniture one last time once the paint has dried. This will ensure that the surface is homogeneous and will smooth out any paint job flaws.
After you have sanded the furniture, you need to apply a top coat. This will protect the paint and make it more durable.
To Sum Up!
Now that you’ve painted your furniture, it’s time to add the finishing touches. This is where you can really add your own personal style to the piece. There are a few different ways you can do this, but we’ll just touch on a few of the most popular techniques.
One popular way to finish painted furniture is by adding distressing. This gives the furniture an antiqued look and can really make it stand out. To distress your furniture, you can use a variety of tools, such as sandpaper, a hammer, or even just your hands. Experiment with different techniques until you find the look you’re going for.
Fixing Expert delivers professional interior fitout services in Dubai, UAE, committed to resolving a wide range of interior issues using our best strategies and recommendations.