How to Install Laminate Flooring? Easy Steps
Flooring is, without a question, a key component of your overall house design.
How to Install Laminate Flooring? This would be your one of early question in your mind while choosing flooring.
With so many alternatives on the market, you’ll want to choose flooring that meets all of your needs.
Light colored laminate tile flooring is scratch-resistant, which is why the majority of people prefer to install it in their houses.
People, on the other hand, hire specialists to install laminate flooring. When it comes to installing laminate flooring in your home, you don’t need to contact specialists.
Following the techniques outlined in this tutorial, you may put laminate flooring in your living room on your own.
Learn how to install laminate flooring with this easy to follow, step-by-step instructional video.
Some Easy Steps to Install Laminate Flooring
The procedures of installing laminate flooring at your home and making it appear more appealing are outlined here.
In fact, putting it together, i.e. putting the jigsaw pieces together, will be far more enjoyable. It’s simple to clean and install if you follow the instructions carefully.
Spc embossed flooring is a great alternative to other types of hardwood or real tile flooring and it’s easier than you think!
Let this article be your guide to installing laminate flooring. I’ve put together simple steps that you can follow, and if you do them right, your floor will look professional. Let’s start!
Some Essential items You Will Need To Install Laminate Flooring
Installing laminate flooring will necessitate the use of specific supplies and equipment. Before beginning the installation procedure, double-check that you have all of the required goods.
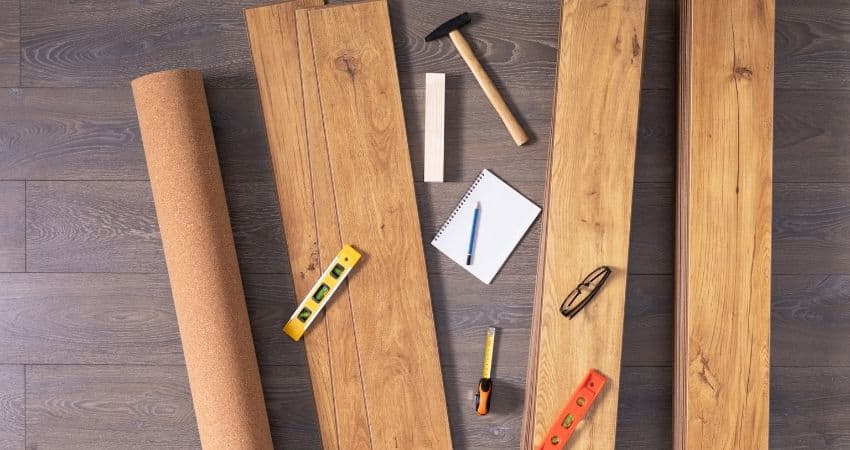
- A Knife
- Hammer
- Tapping block
- Laminate flooring
- Scrap wood spacer
- Rubber Mallet
- Pencil
- Speed Square
- Chalk box
- Tape Measure
- Straightedge
- Jigsaw
Let’s start with the first step;
First of all Prepare Your Subfloor
Before you go out and put laminate flooring in your room, be sure you have everything you need.
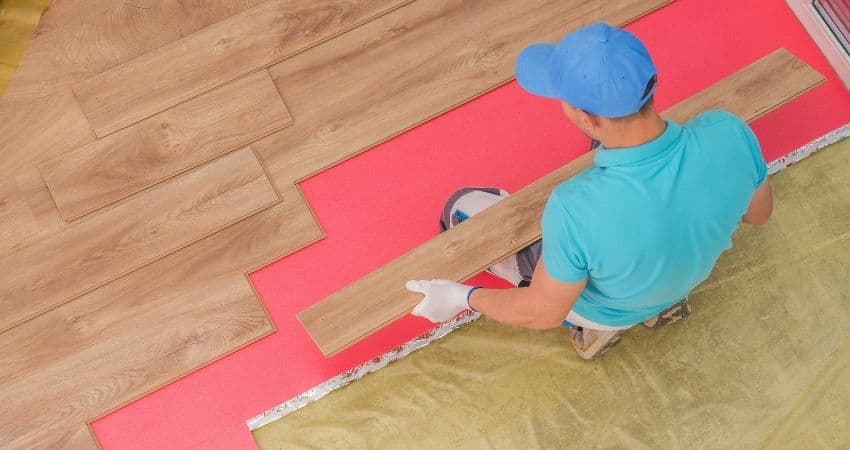
So, first and foremost, prepare your subfloor by making it smooth, flat, and clean. Furthermore, a simple sheet of foam may be used as a basis for laminate flooring, allowing it to be correctly fitted and improving the elegance of your home design. Preparing subfloor is essential factor for any kind of flooring installation whether it’s wooden or vinyl flooring.
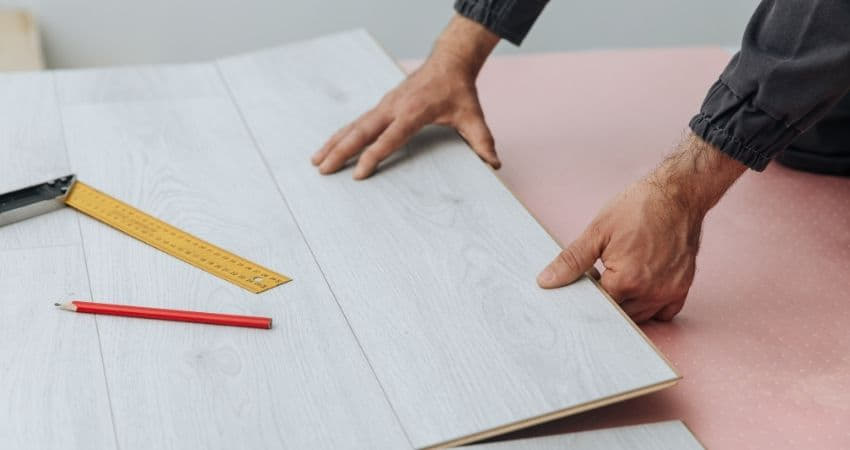
The second easy step is to test the installation by Arranging the Planks
After you’ve finished preparing the subfloor, inspect the plan of your flooring to see how you’ll arrange it.
To test, arrange the planks without locking them in place. When testing, be careful because if they are locked by accident, it can harm the edge of the planks, making the entire installation procedure more difficult to complete and looking sloppy.
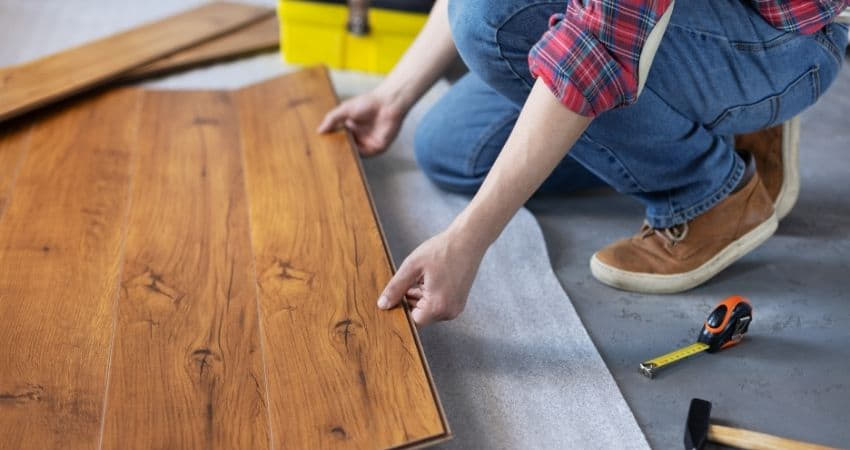
Now, Start Installing the First Row of Laminate Planks
To begin, remove the tongues from any boards that may be used to edge the first wall. This step can be done with a knife or a jigsaw, but it should be done with caution to avoid injury.
When you begin putting the first row of boards, double-check that the trimmed edges are flush with the wall. When putting the boards, leave almost a quarter-inch between them and the wall, and make sure the seamed edge is facing out.
Place the scrap wood spacer between the wall and the plank to maintain the space/gap.
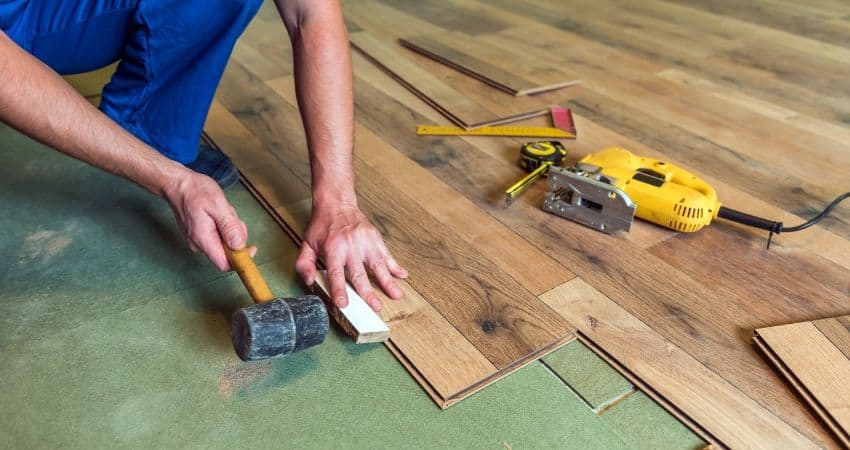
After putting out the lengths of planks, tap them down with a hammer or tapping block to ensure that they are firmly fastened. Make sure there are no gaps between the laminate boards’ end joints.
Now this is the time to Finish Installing the First Row of Laminate Planks
When you get to the end of the first row of laminate planks, the last plank will be fully extended. Simply measure the remaining length of the floor and insert that board.
The first length plank in the second row will be that residual piece that you cut down. So put it aside and finish the first row by securing the final boards’ ends. You’ll be able to finish the first row flooring installation with a delicate touch this manner.
Plan And Continue Installing More Rows of Laminate Planks
The plank will be cut down to its final component and utilized as the initial plank of each new row.
Hold these planks at a 45-degree angle for the following rows, then insert the longest plank into the groove of planks in the previous rows. Join all of the planks together and fasten them in a safe manner.
Finally, Finish this process by installing the Last Row of Laminate Planks
When you conclude your installation by putting in the last row, you’ll see that there are torn planks left behind. Because you’ll be inserting it snug against the wall, the last row’s installation might be tough.
Final Words!
These were some basic and straightforward procedures for installing laminate flooring in your area, which, if followed correctly, can result in a flawless flooring installation in your home, making it appear much more appealing.
I hope you found this video informative and are now aware of the simple steps of how to install laminate flooring.
I strongly advise you to use these steps for a flawless laminate flooring installation. These suggestions are far more effective and straightforward.
We are a premier Renovation Company, dedicated to assisting our clients in optimizing their interior layouts with the finest choices available.
Read more.