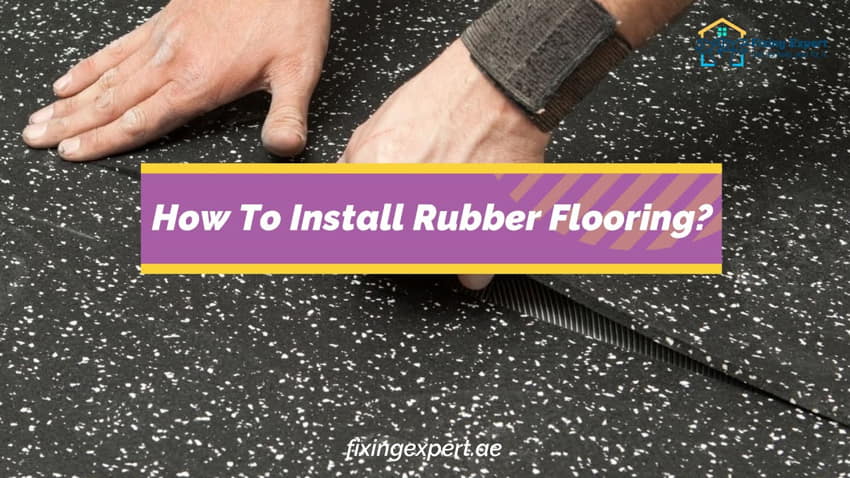
How To Install Rubber Flooring? | Step By Step Guide
Are you looking for a durable and easy-to-clean composite flooring option for your home gym or commercial space? If so, rubber flooring could be something to think about. Because it is non-slip, simple to maintain, and available in a variety of colours and styles, rubber flooring is a preferred option for many households and businesses.
If you’re thinking about installing rubber flooring, then you’re in luck. In this article, we’ll give you a step-by-step guide on how to install rubber flooring in your home or business. We’ll cover everything from preparing the area to installing the flooring to sealing and maintaining the floor. So whether you’re a do-it-yourselfer or you’re hiring a professional, this guide will help you get the job done right.
Steps For How To Install Rubber Flooring
Rubber flooring is a durable, impact-resistant, and easy-to-maintain flooring option that is ideal for both commercial and residential applications. While it is often used in gyms and other athletic facilities, rubber flooring can also be used in basements, laundry rooms, and playrooms. Rubber flooring is available in a variety of colors, textures, and thicknesses, so it is easy to find a style that fits your needs.
Installing gym rubber flooring is a relatively easy process, but there are a few things you will need to do to prepare the area before you get started. You must first take out any flooring that is already there and clean the subfloor. The rubber flooring must next be rolled out and trimmed to size. The installation of rubber flooring will now be covered in detail.
Step 1: Gathering The Materials For Your Rubber Flooring Project

There are several different types of rubber flooring, including rolls, tiles, and interlocking mats. Although there are some small variances in how you lay your flooring to obtain a well-bonded surface, the materials listed below are suitable for most installations.
Rubber flooring of choice
Heavy-duty double-sided tape
Utility knife
Cleaning materials including mop and brush
Chalk
Straight edge tool
Carpet roller
Step 2: Pre-Installation Prep Work
After you’ve put your supplies together, the next stage in your rubber floor installation process is to clean it thoroughly. You must clear the area of any dirt or debris to prevent problems with the adhesive. Before installing a new floor, any oil or moisture from spills should be fully removed from the current floor area and allowed to dry.
If you’re using rubber sports flooring that comes in a roll, this is a good time to take it out of the package and use weights on each corner to help it smooth out. If you’re using tiles or rubber stud flooring, you may skip this step.
Step 3: Loose Laying Your Rubber Flooring

After you’ve carefully prepped the space, loose-lay your flooring across the room without using any glue at this point. Start rolling outward using a rubber roll if you’re using one, starting at one end of the wall. You can rough cut the pieces to size and mark any overhangs with chalk so that you can later trim them more precisely using a utility knife.
Step 4: Bonding Your Rubber Flooring
Once you’ve drawn out your rubber flooring plan and are confident that you have everything you’ll need to accomplish your installation, it’s time to tape the room with heavy-duty double-sided tape. Mark the border of your room with this, but keep the release tape off for now. If you’re using tiles instead of a roll, be sure to include strips of tape for each tile that has to be placed.
Remove the release tape and push the rubber flooring into place after the glue is in place, being sure to follow the product instructions on the package, which will normally have the glossy surface facing upwards. It’s critical to position the flooring onto the tape rather than let it fall into place. After that, apply strong pressure to the rubber to eliminate any remaining lumps or bubbles.
Any adjacent pieces of flooring must be flat with one another, and you may use your straight edge tool to do this.
Step 5: Rolling The Finished Installation

Once you’re pleased with how each piece of rubber flooring is positioned, let it take about an hour to rest. The adhesive will be able to properly set as a result. After that, use a carpet roller to smooth up your flooring; repeat at 75 and 90 minutes. During this last stage, use the carpet roller both width- and length-wise, and take care not to move the installation.
To Sum Up!
Rubber flooring is currently one of the most often-used types of flooring. Rubber flooring has been used in both business and residential settings because of its many advantages. If you’re considering rubber flooring for your home or business, then you’ll need to know how to install it properly.
Installing rubber flooring is not a difficult task, but we have mentioned a few things you’ll need to keep in mind.
Fixing Expert is recognized as a premier interior fitout contractors in Dubai, committed to offering the highest quality interior solutions. Our team is readily available to help you address any challenges you may face in your interior decor endeavors.
Read more.