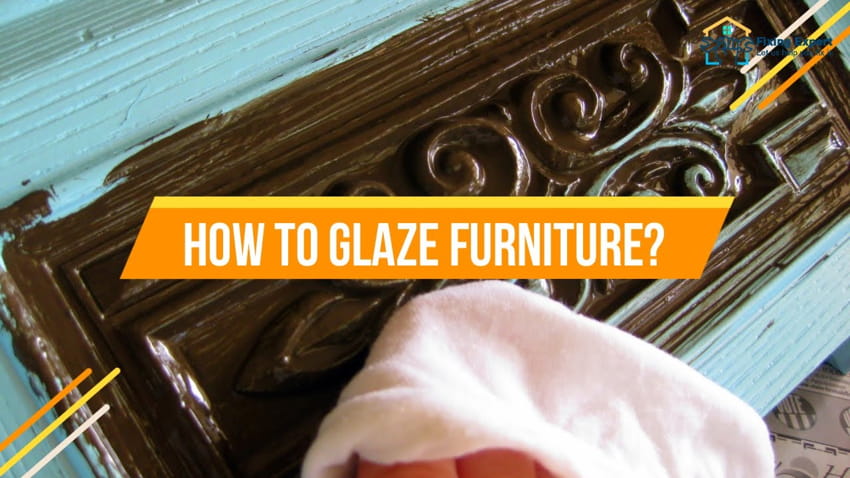
How To Glaze Furniture? Step-by-Step Tutorial
Glazing is a popular finish for furniture, and it’s easy to see why. Glazed furniture has a beautiful shine that can make any piece look like a million bucks. Furthermore, glazing is a pretty easy technique that only requires a small number of supplies to complete at home.
If you’re interested in glazing your own furniture, we’ve got you covered. We’ll offer you a step-by-step tutorial in this post on how to glaze furniture like a master. We’ll also provide you with a few insider hints and techniques that will enable you to get the finest outcomes.
So whether you’re looking to add a touch of luxury to your home or you’re just interested in trying out a new finishing technique, glazing is a great option. Just follow the steps below and you’ll be glazing like a pro in no time
Have A Look At Turotiral For How To Glaze Furniture
Glazing furniture is a process of adding a thin layer of transparent color to wood or metal furniture. This technique can be used to give custom designed furniture a new look, change the color of the furniture, or protect furniture from damage. Anyone can glaze furniture with a little experience because it’s a really simple procedure. You may find a step-by-step tutorial for glazing furniture in this post.
Furniture glazing is a fantastic method to give it a personal touch and make it stand out. You may use glazing to preserve your furniture from harm or to modify the color of your furniture.
– Furniture
– Glaze
– Paintbrush
– Roller
– Cleaning supplies
Once you have gathered all of your supplies, you are ready to begin by following these mentioned below steps;
1. Sand Surface
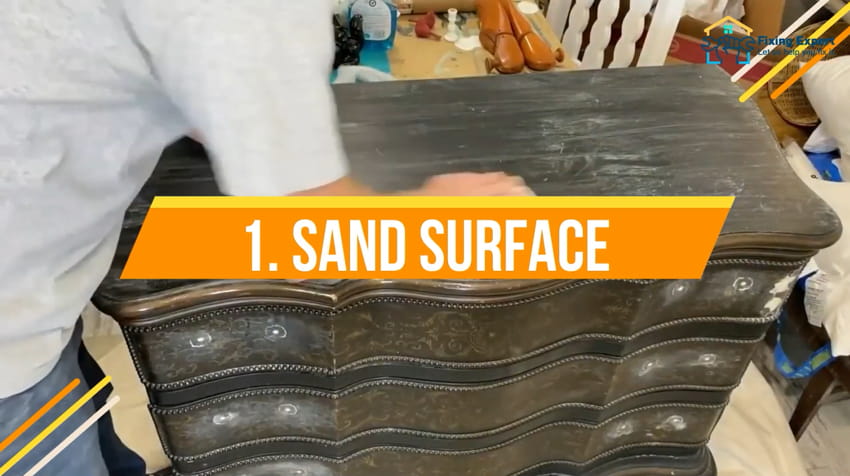
One of the best ways to glaze furniture is to sand the surface first. This will help the glaze to adhere better and will also give the furniture a smooth finish.
You must use fine-grit sandpaper to smooth the furniture’s surface. Before switching to a circular motion, start by standing in the direction of the grain. Once you have sanded the surface, you can then apply the glaze.
Sanding the surface of the furniture before you glaze it is a simple process that will yield great results. By taking the time to sand the surface, you will be able to achieve a smooth and even finish that will make your furniture look its best.
2. Prime Surface
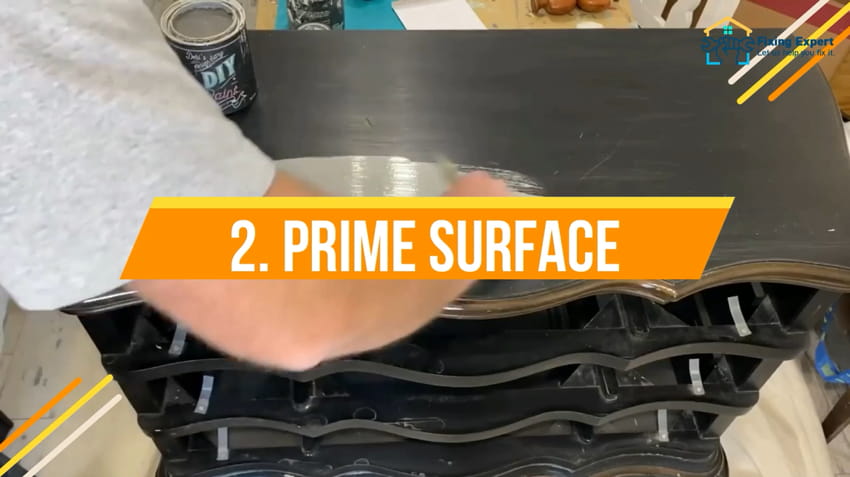
When glazing furniture, the prime surface is the key to a successful outcome. This is the surface that will be in contact with the glaze, so it is important to choose the right material. There are a few different options for prime surfaces, but the most popular are wood, metal, and glass.
A Step-by-Step Breakdown: Mastering the Art of Staining Wood Furniture
Every alternative has advantages and disadvantages of its own, making it crucial to select the best one for your project. Wood is the most popular option, but it can be difficult to work with.
Although metal is a more resilient alternative, it can be challenging to get a flawless surface. Glass is the most difficult to work with, but it can create a unique and beautiful finish.
No matter which option you choose, the key to success is in preparation. The prime surface must be clean and free of any debris before you begin.
3. Add the First Layer of Paint/Glaze
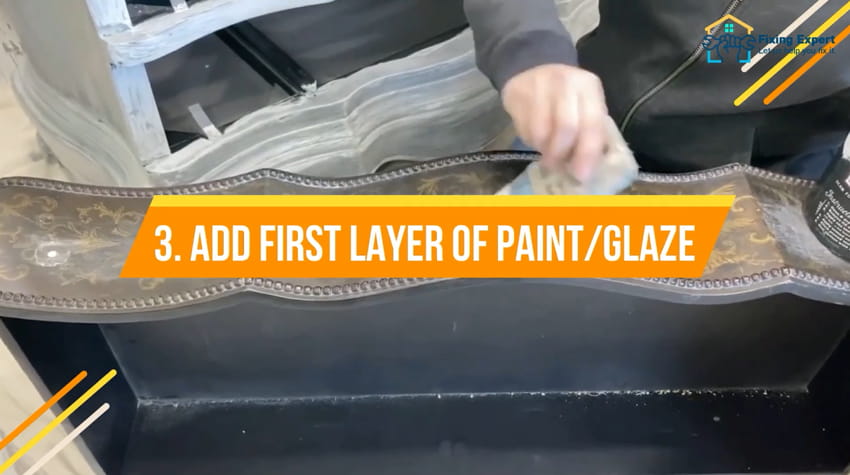
Once the furniture is sanded and the primed surface is finished, choose the paint or glaze color you want to use. When selecting a paint color, keep in mind that light colors will reflect more light than dark colors.
To add first layer of paint or glaze, use a brush or roller to apply an even layer over the entire surface. Start with the lightest color and work your way up to the darkest if you’re using more than one.
4. Repeat Sponging On Paint
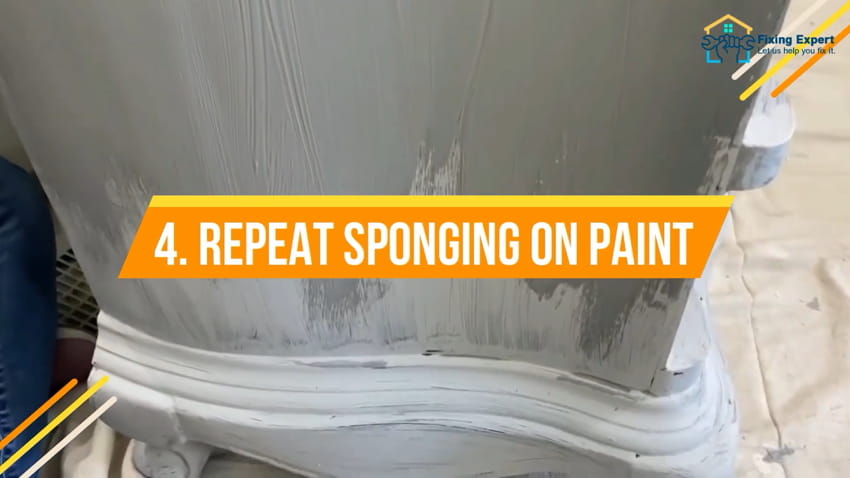
Once the base coat is dry, start sponging on the second coat of paint. Use a light, even pressure as you sponge the paint onto the surface of the furniture. You can use any color of paint for this second coat, but lighter colors will create a more subtle Antiqued look.
Sponging on paint is a great way to create a glazed finish on furniture. To create this finish, you will need to repeat the sponging process several times. Start by Applying a base coat of paint to the piece of furniture you want to glaze.
Quick Tip: Simple Steps for Revitalizing Wood Furniture
Once the base coat is dry, sponge on a glaze of your chosen color. Repeat this process until you have the desired look.
5. Add Antiquing and Sealer
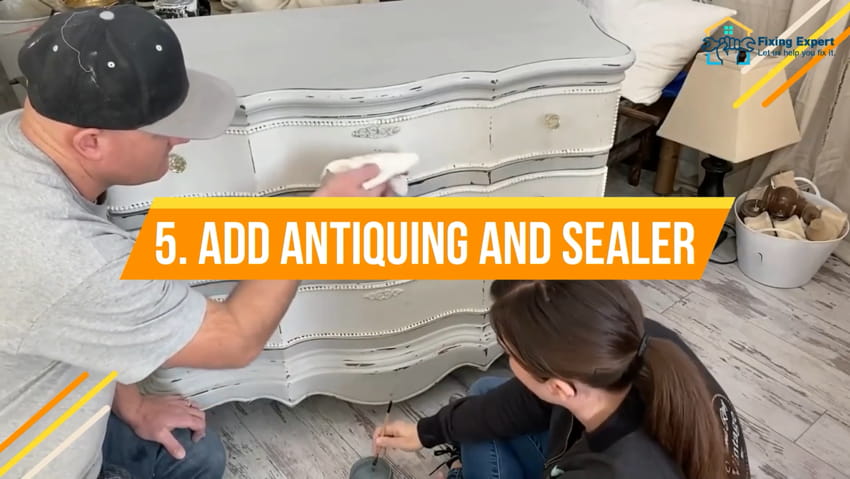
Antiquing and sealer helps to protect the glaze and furniture from dirt, dust, and other elements. They also help to preserve the finish and keep it looking like new. Without antiquing and sealer, the glaze and furniture would be more susceptible to damage and wear.
To add antiquing and sealer to glaze furniture, you will need a few supplies. First, you will need a can of spray sealer. Next, you will need a can of antique glaze. Finally, you will need soft cloth.
6. Add Dark Wax

Adding dark wax to glaze furniture is a great way to give it a new look. Dark wax can be used to highlight the details of the furniture and to give it a more aged appearance. When applying dark wax, it is important to work in small sections and to be sure to remove any excess wax before it dries.
7. Buff & Let Dry

The final buffing of the wax should be done with a clean, lint-free cloth. To prevent leaving any streaks, make careful to massage the wax in the direction of the grain. Once the wax has been evenly applied, let it dry for at least 30 minutes before buffing it to a shine.
To get the required amount of shine, this process might need to be performed numerous times. However, be patient and don’t rush the process – a good wax job will last for years and is well worth the effort.